This article shows you how to get Node.js up and running on your Ubuntu 20.04 system using a non-root user account with sudo privileges.
There are two installation methods that we will look at:
- Installing Node.js from Ubuntu’s official repository
- Installing Node.js with nvm
Method 1: Installing Node.js from Ubuntu’s Official Repository
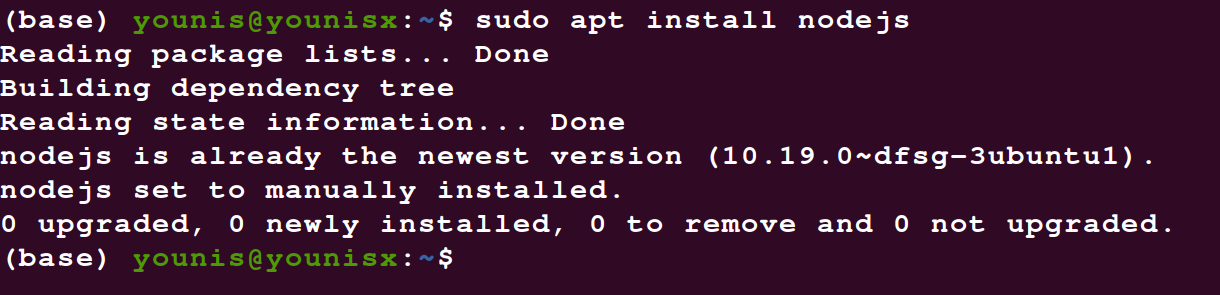
Installing Node.js with an apt package manager from Ubuntu’s official repository is fairly straightforward. First, update your package listing before running the installation command by entering the following:
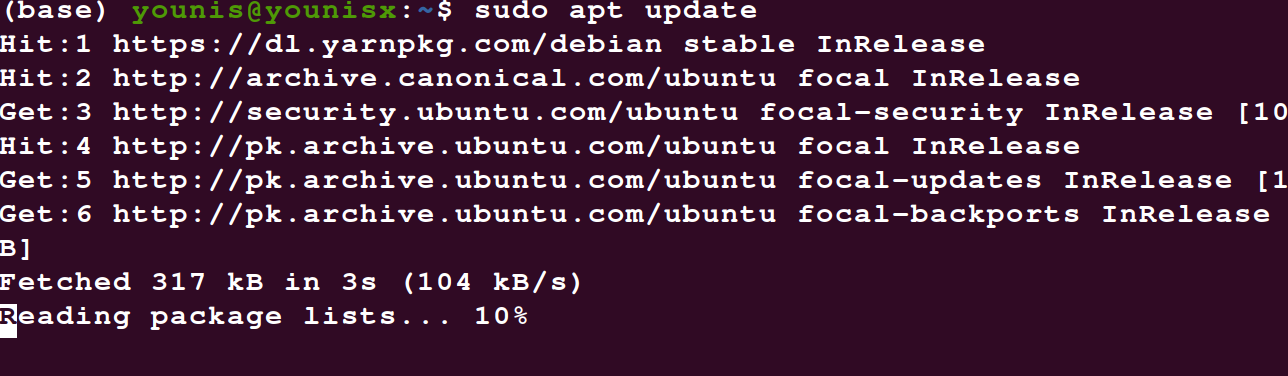
Verify the install by checking the version of Node.js you have downloaded:

The process shown above should download the latest package available in Ubuntu’s software repository. To download a specific version, try out one of the other methods in this tutorial.
You can install npm just like we installed Node.js with the apt repository. Enter the following command to commence installation of npm:
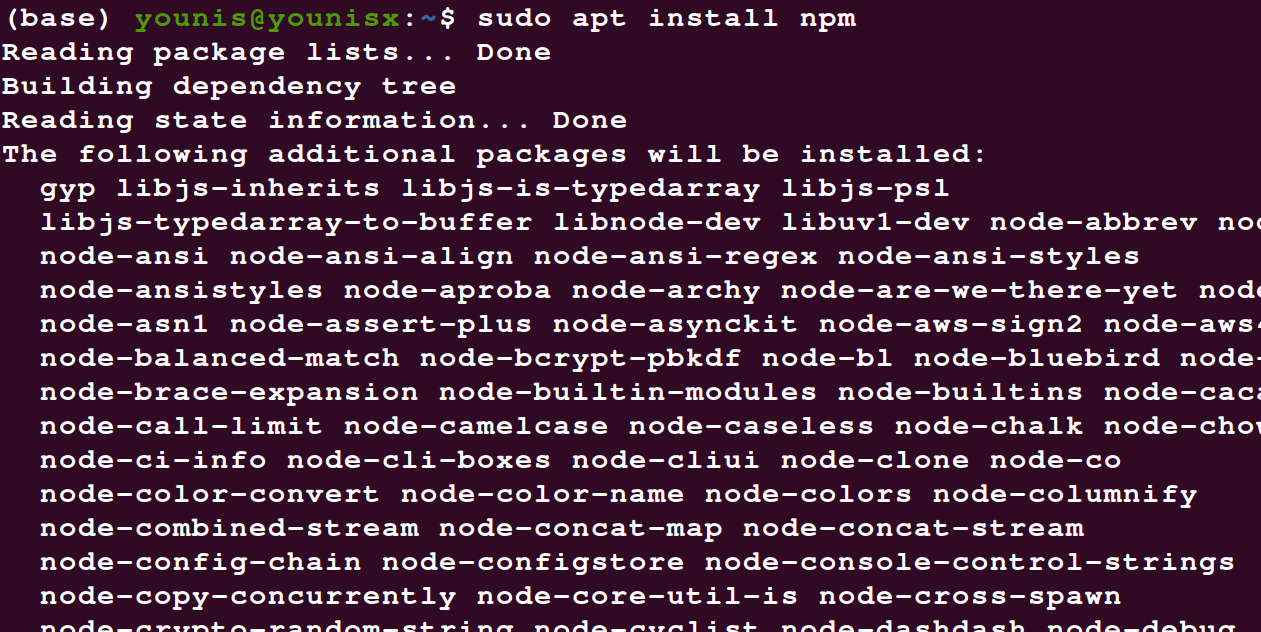
You have now installed npm and Node.js on your system. You can now start using node.js and the npm library to add functionalities to the software on your system.
Method 2: Using nvm to Install Node.js
If you want to download a specific version of Node, or if you just want more customizability in the installation, using nvm in the process can do this for you. Nvm stands for Node Version Manager and is a tool that lets you administer several side-by-side and active Node. js versions on your system.
First, copy the curl command from the readme file on the GitHub page for nvm:
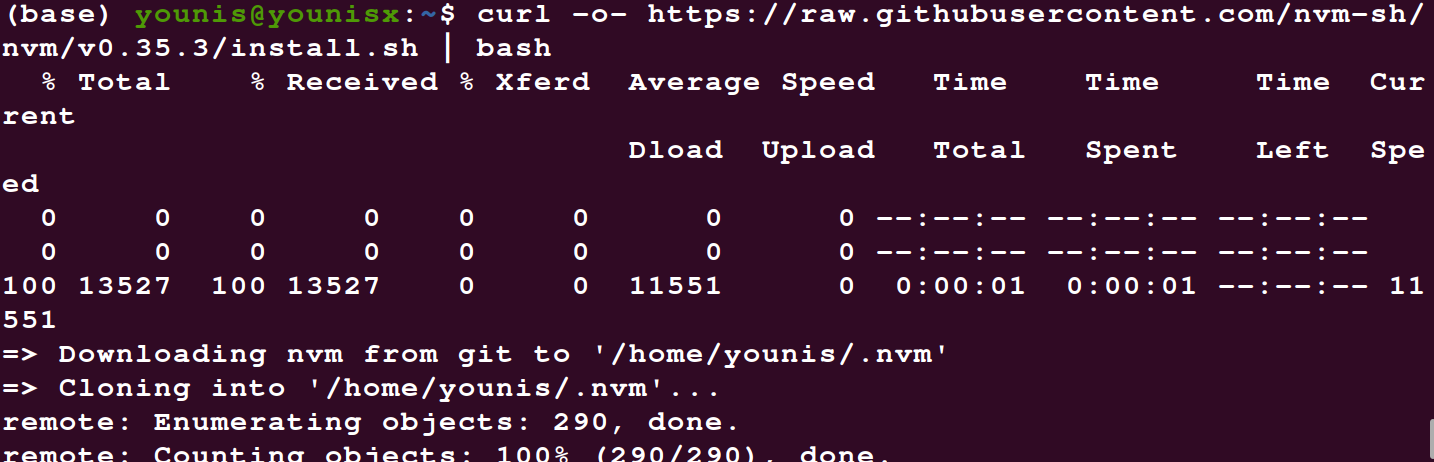
Paste it on the command terminal and run it to install the nvm. Then, run the following command to source your bash file.

To see what versions of Node are available to download, enter the following command:
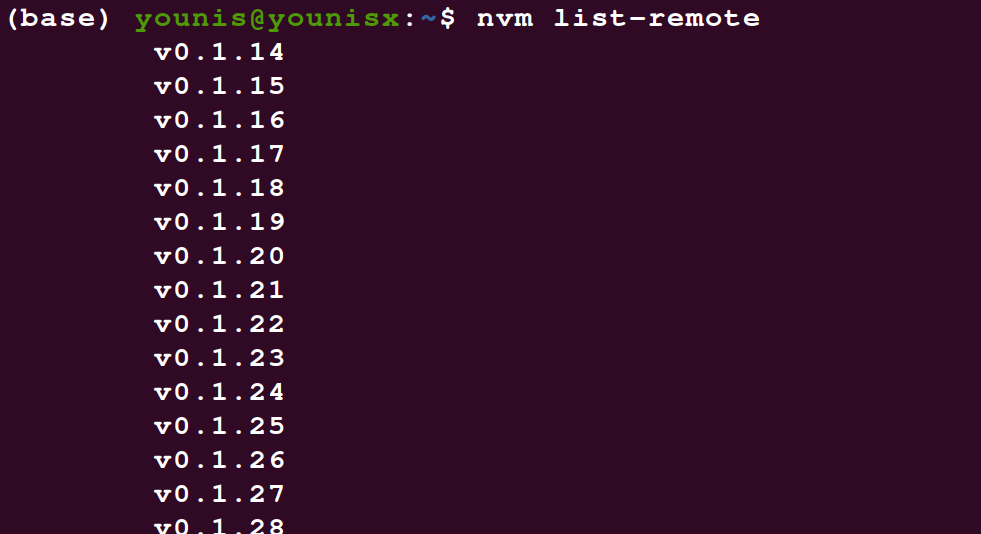
Then, add whichever version you want to download in the following command syntax:
For example, to download v14.9.0, you would write the command as follows:

You have now successfully downloaded and installed Node.js v14.9.0 onto your system. You can download multiple different versions with nvm without the versions interrupting each other. You can even download and install long-term support versions of Node with nvm, such as Erbium or Dubnium. For example, the following command installs the latest Erbium version:

You can see all the versions of Node installed on your system by entering the following:

Use the following command to enter a different version of Node:

Nvm is a great tool to use because it brings together many options for efficient management of the Node.js software.
Wrapping Up
This tutorial looked at two different ways to install Node.js on an Ubuntu 20.04 server: by using nvm, and by directly requesting the program from the standard Ubuntu repository. If you are looking to install the latest version as quickly as possible, you should go with the first method. Otherwise, if you want more flexibility with your install, you can choose either of the two methods.
Check out Nodeproject’s official homepage to learn more about how to use Node on your Ubuntu 20.04 system.