The communication and data transfer between the front end and backend of any application occurs through APIs (Application Programming Interface). There are many different types of APIs used to communicate between the front and back-end applications like RESTful API, SOAP API, GraphQL API, etc. The GraphQL API is a relatively new technology, and it is much faster than other types of APIs available. Fetching data from the database using GraphQL api is much faster than the REST API. While using GraphQL API, the client has control to fetch only the required data instead of getting all the details; that is why GraphQL API works faster than REST API.
Installing Packages
We will build a node.js application using GraphQL API, so we need to install node.js and npm for this before starting the project.
[email protected]:~$ sudo apt-get install nodejs
[email protected]:~$ sudo apt-get install npm
Setting up Project
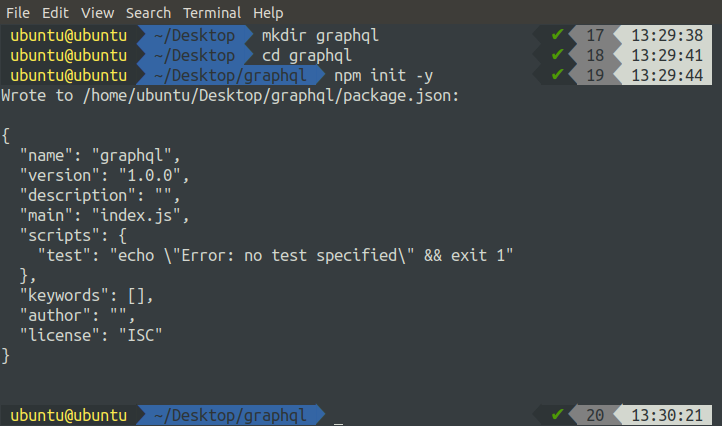
We will use the ‘express’ framework from node.js to build our application. Create a directory named ‘graphql’ and initiate the project.
[email protected]:~$ cd graphql/
[email protected]:~$ npm init -y
MongoDB Setup
In our GraphQL project, we will use MongoDB as our database. MongoDB is a schemaless database and stores data in the form of key pairs. In order to install mongoDB, follow the given steps.
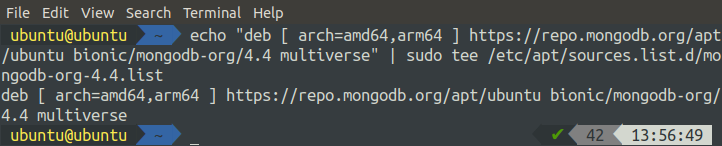
Import the public GPG key for MongoDB.

Create the list file for mongodb.
Update local repositories.
Install mongodb package.
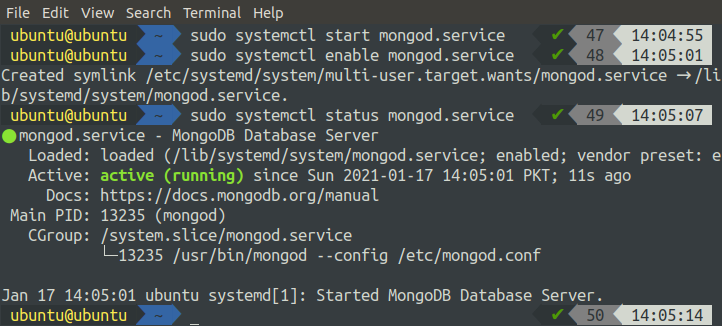
Start and enable mongod.service.
[email protected]:~$ sudo systemctl enable mongod.service
Installing npm Modules
For our GraphQL application, we need to install some npm packages. We will install cors, express, body-parser, mongoose, etc.
[email protected]:~$ npm install cors express body-parser mongoose --save
To create a GraphQL api, we need to install an extra npm package named ‘apollo-server-express.’ This npm package is used to run graphQL server with all Node.js HTTP frameworks like ‘express.’
Defining MongoDB Schema
Now we have our environment set up for our GraphQL application in Node.js, and it is time to define a schema for our application. Create a file ‘models/student.js’ in the project root directory.
const mongoose = require(‘mongoose’);
const studentSchema = new mongoose.Schema({
name: {
type: String,
required: true
},
class: {
type: Number,
required: true
},
major: {
type: String,
required: true
}
}, {
timestamps: true
});
const Student = mongoose.model(‘Student’, studentSchema);
module.exports = { Student, studentSchema }
In the above-defined schema, every student must have a name, class, and major.
Building GraphQL API
After creating the Student schema, we will now build GraphQL API. Create a ‘schema.js’ to write GraphQL parameters. There are two parameters, ‘types’ and ‘resolvers,’ used in GraphQL API. In ‘types,’ we will specify our schema, the queries (e.g., Making GET requests), and mutations (e.g., Making UPDATE or DELETE requests) to the specified schema. We will write the different methods defined in ‘types’ to link the queries and mutations with the database in ‘resolvers.’
const { gql } = require(‘apollo-server-express’);
const Student = require(‘./models/student’).Student;
// Defining Schema, Query, and Mutation Type
const typeDefs = gql `
type Student {
id: ID!,
name: String!,
class: Int!,
major: String!
}
type Query {
getStudents: [Student],
getStudentById(id: ID!): Student
}
type Mutation {
addStudent( name: String!, class: Int!, major: String! ): Student
updateStudent( name: String!, class: Int!, major: String! ): Student
deleteStudent( id: ID! ): Student
}`
// Defining Resolvers
const resolvers = {
Query: {
getStudents: (parent, args) => {
return Student.find({});
},
getStudentById: (parent, args) => {
return Student.findById(args.id);
}
},
Mutation: {
addStudent: (parent, args) => {
let student = new Student({
name: args.name,
class: args.class,
major: args.major
});
return student.save();
},
updateStudent: (parent, args) => {
if(!args.id) return;
return Student.findOneAndUpdate({
_id: args.id
},
{
$set: {
name: args.name,
class: args.class,
major: args.major
}
},
{ new: true }, (err, Student) => {
if(err) {
console.log(err);
} else {};
})
}
}
}
module.exports = {
typeDefs,
resolvers
}
Creating GraphQL API Server
Now we are almost done creating the GraphQL Application. The only step left is to create the server. Create a file named ‘app.js’ to configure server parameters.
const express = require(‘express’);
const mongoose = require(‘mongoose’);
const bodyParser = require(‘body-parser’);
const cors = require(‘cors’);
const { ApolloServer } = require(‘apollo-server-express’);
// importing schema
const { typeDefs, resolvers }= require(‘./schema’);
// connecting to MongoDB
const url = “mongodb://127.0.0.1:27017/students”;
const connect = mongoose.connect(url, { useNewUrlParser: true });
connect.then((db) => {
console.log('Connection Successful');
}, (err) => {
console.log(err);
});
// creating server
const server = new ApolloServer({
typeDefs: typeDefs,
resolvers: resolvers
});
const app = express();
app.use(bodyParser.json());
app.use(‘*’, cors());
server.applyMiddleware({ app });
app.listen( 8000, () =>
{
console.log('listening to 8000');
})
Testing the GraphQL API
We have our graphQL server up and running on port 8000, and it is time to test the GraphQL API. Open the GraphQL webpage in the browser by visiting the following url.
And it will open the following webpage.

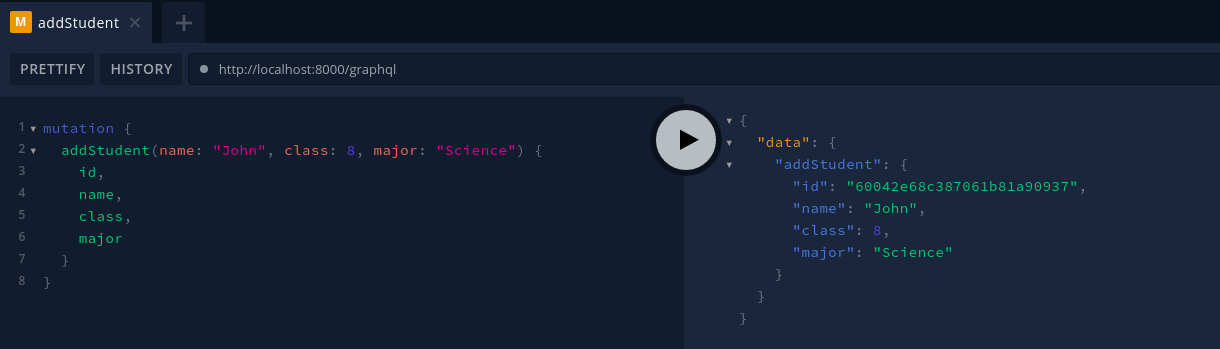
Add the student to the database using graphQL API.
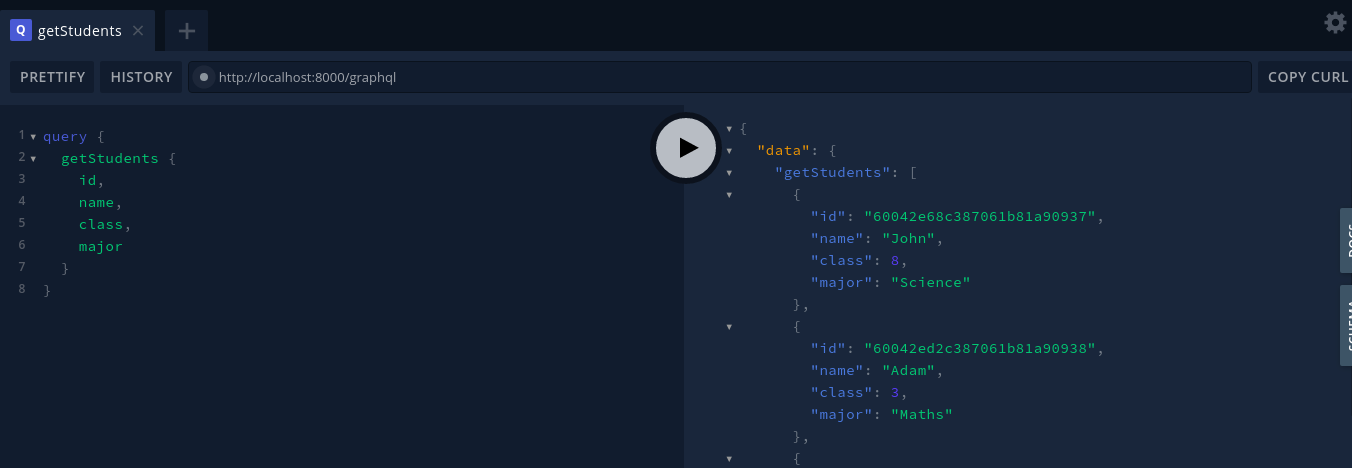
Similarly, add more students, and after adding the student, get all the students using GraphQL API.
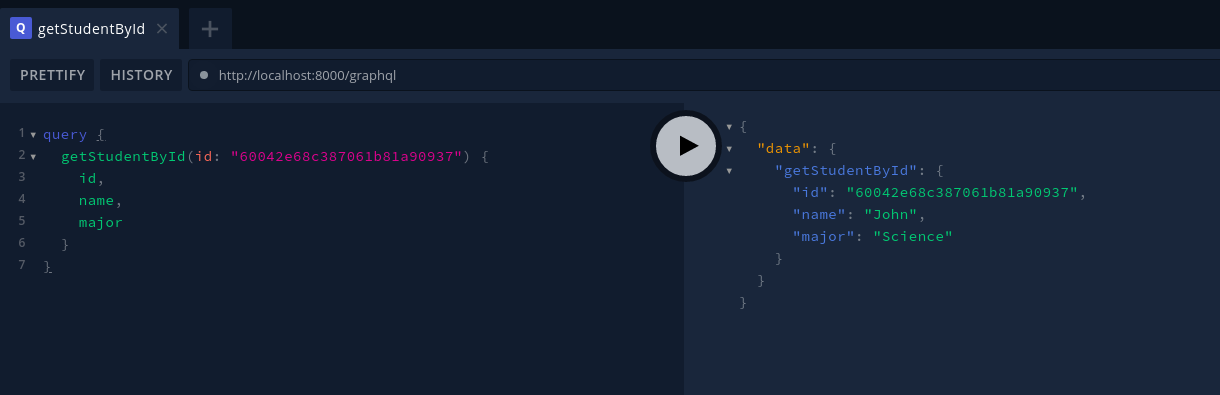
Note the ID of any of the Students and get the specific student using its id.
Conclusion
Fetching data from the database using the standard REST API makes the query slow as sometimes we get more data than required. Using GraphQL, we can fetch exactly the required data that makes the GraphQL API faster. In this demo project, we only have a single schema, so we have created GraphQL API for that single schema. Also, we have defined three to four methods for the schema. You can create more than one query or mutations according to your application.