Available for more than 20 years now, PostgreSQL has proven its remarkable reliability in use cases ranging from small to huge datasets. The list of satisfied commercial and non-commercial users is quite long, and among others it includes the United Nations Children’s Fund (UNICEF), the Creative Commons archive, Skype, and the BMW Group.
Its built-in transaction management model as well as the set of geometric data types helped to stand out the software from other developments such as MySQL/MariaDB, Redis , or SQLite . In this article we focus on the setup of PostgreSQL 11.5 in combination with PostGIS 2.5 .
PostGIS is the spatial extension of PostgreSQL which adds both geometric functions and geographic features to PostgreSQL. Simply speaking, these spatial datatypes act as shapes, and both abstract and encapsulate spatial structures such as boundary and dimension. Among others, newly available datatypes are Point, Surface, and Curve.
One of the most prominent users of PostGIS is the Institute Géographique National (IGN) of France which collects, integrates, manages and distributes reference geographical information for the entire country. Since July 2006, PostGIS is in extensive use. Up to now the IGN’s database holds more than 100 million spatial objects.
We will set up PostgreSQL/PostGIS on Debian GNU/Linux 10 “Buster” using the XFCE desktop environment .
Setting up PostgreSQL
Setting up the PostgreSQL DBMS on a Debian GNU/Linux requires only a moderate level of knowledge of system administration. The challenge here is the right order of steps that are required (see for a full list with images). As with every other Linux distribution, there are default settings and package names that can be a bit troublesome. We don’t moan, and just start, instead.
Installing PostgreSQL as a software
Step one is the installation of the PostgreSQL package. In a terminal you can do that as follows:
Using the Chef configuration management system, a basic recipe that leads to the same result contains just the following lines:
service ‘postgresql’ do action : [ :enable, :start ] end
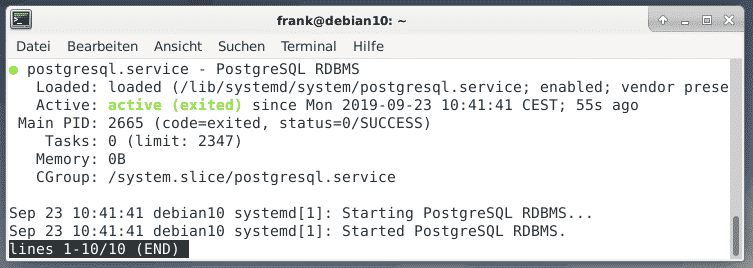
These lines lead to the installation of the postgresql package (plus package dependencies), and enabling the according service. In order to check the PostgreSQL service for being running, this command should give you a positive output, then:
Completing the setup for the administrator’s account
The user postgres administrates the PostgreSQL databases. Step two is finalizing this account, and begins with adding a password to his credentials as follows:
New password:
Retype new password:
passwd: password updated successfully
#
Logging in as the user postgres allows you to grant other users access to the PostgreSQL database. Subsequently, we have to add a user in step three. Please be aware of the fact that both the Linux system and PostgreSQL keep their user databases separately. That’s why you have to make sure that a regular Linux user with the same name exists on your system, too, before enabling access to PostgreSQL for him.
Adding a user account
Step four is done as the user postgres. Change from root to postgres, and create a new account for the user linuxhint in the PostgreSQL database with the help of this command:
Shall the new role be a superuser? (y/n) n
Shall the new role be allowed to create databases? (y/n) n
Shall the new role ve allowed to create new roles? (y/n) n
postgres $
Next, set a password for the newly created user linuxhint. Login to the database shell using psql, and set the new password using the command \password. After that type in \q in order to quit the database shell, and to return to the shell in the terminal:
Step five is the creation of a separate database for the user linuxhint. In order to do so type in the command createdb as user postgres:
Now, the user linuxhint has its own database, and can work with it according to his needs.
Adding PostGIS
Step six consists of the installation of the PostGIS package. As done for PostgreSQL before, it can be done as follows using apt-get:
Alternatively, a simple recipe for Chef would be this one:
action :install
end
The PostGIS package has a dependency for the Debian package postgresql-11-postgis-2.5-scripts (automatically installed) that connects PostGIS to PostgreSQL, and eliminates a number of manual steps needed in other distributions. No matter which one of the two installation methods you choose – apt-get or Chef – , the Debian package management will make sure that all the depending packages are both installed, and configured correctly.
Step seven is the enabling of the PostGIS extension. As explained in the PostGIS documentation, do not install it in the database named postgres as this one is in use for the internal datastructures of PostgreSQL, and only enable it in each user database you actually need it in. Login as the user postgres, connect to the desired database, and create the two extensions postgis and postgis_topology as shown below. The command \c connects you to the desired database, and CREATE EXTENSION makes the desired extension available:
Now you are connected with the database “linuxhint” as user “postgres”.
Step seven is for validation that the activation of the extension was successful. The PostgreSQL command \dx lists the extensions that are installed, and both postgis and postgis_topology should be in the list, now.

PostGIS provides other extensions, too. We recommend to install only what you need. See the PostGIS documentation for more information regarding the extensions.
Adding Data
Having setup PostGIS successfully it is time to add tables, and fill them with data. Quite a lot of geographic data is available online for free, for example from Geofabrik. The data is provided as shape files which is a common vector data format for GIS software.
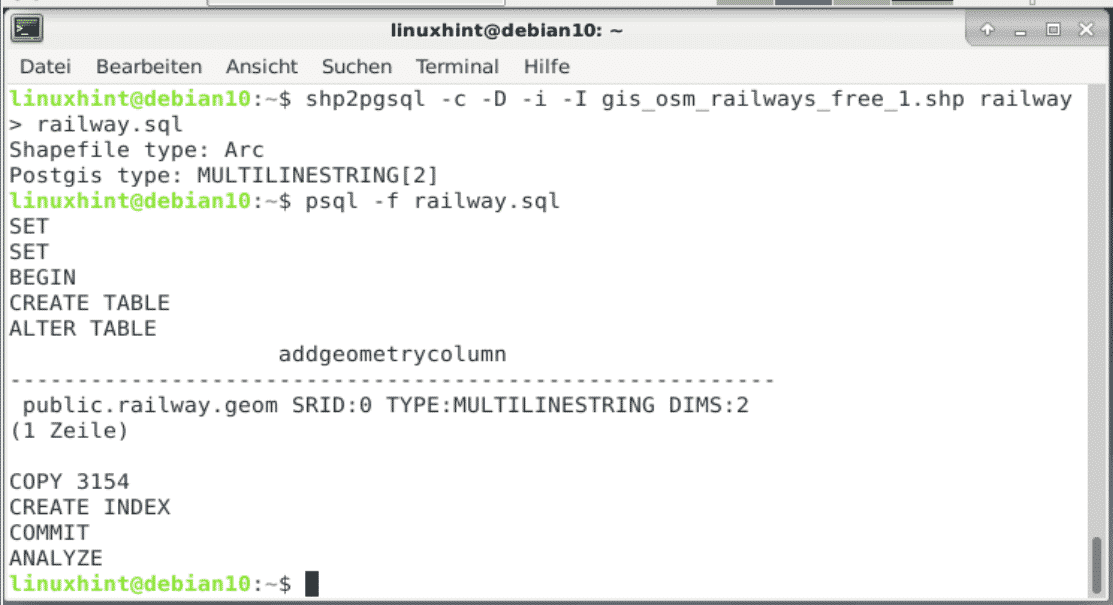
Having downloaded the shape file, load the content of the shape file into PostGIS with the help of the special commandline tool shp2pgsql. The example below demonstrates how to convert the shape file into a sequence of SQL commands, first, and upload the list of SQL commands to the database using psql, next:
Shapefile type: arc
Postgis type: MULTILINESTRING[2]
linuxhint $
linuxhint $ psql -f railway.sql
The figure below shows the output that is printed on screen as soon as you upload the data.
Now, PostgreSQL/PostGIS is at your service, and ready to recieve your SQL queries. For example, pgadmin allows you a look under the hood within minutes. The figure below shows this for the uploaded data. The rightmost column has a geometric type MultiLineString.

Conclusion
Setting up PostgreSQL/PostGIS is not rocket science. With the steps explained above you can do this in less than an hour, and have results quickly. Et voila!