In this guide, let’s have a look at how to play Minecraft on Linux Mint.
Minecraft on Linux Mint
If you didn’t know, Minecraft offers a Java version of the game. This allows enjoying the game in every single system that can run JVM (Java Virtual Machine). Here’s a quick refresh on how Java programs work. Java codes, when compiled, turns into universal bit codes. Those universal bit codes can be executed on a JVM running on any platform.
So, in order to enjoy Minecraft on Linux Mint, these are the steps you have to follow.
- Buy Minecraft (skip if you already did)
- Install appropriate drivers
- Install a suitable JRE
- Install and play Minecraft
So, let’s get started!
Step 1. Buying Minecraft
Developed by Mojang, they released Minecraft back in 2009. It’s now 2019 and Minecraft is still one of the all-time-hit games. I bet many of you still enjoy playing it. However, it’s not any free-to-play title. It costs about 30 USD. Get Minecraft.
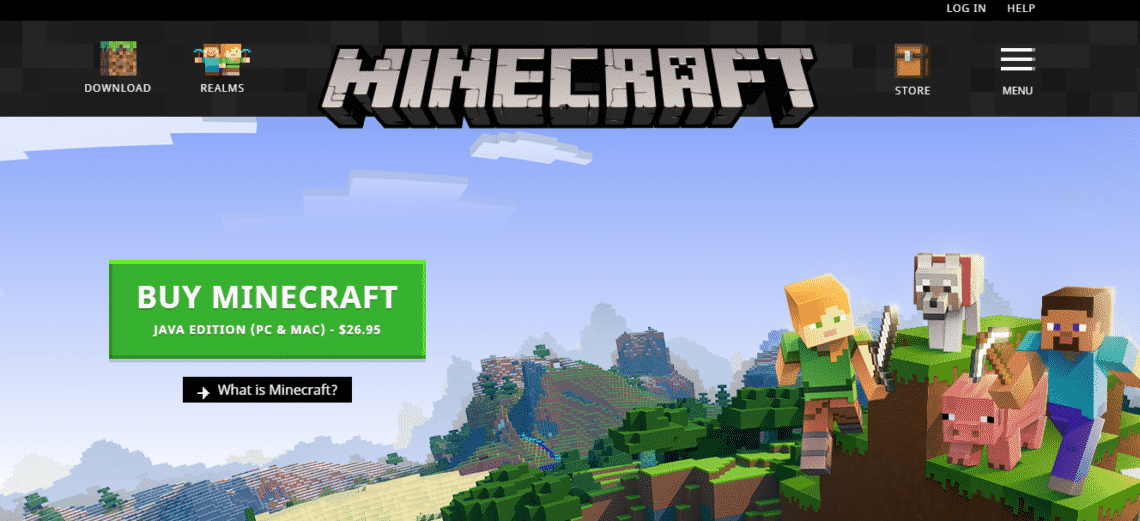
If you already have purchased Minecraft, you don’t have to buy it again. However, if you’re planning on starting a new account, make sure that you’re truly interested in the game. Worry not; it’s a one-time purchase; everything else is free!
Step 2. Install appropriate driver
Minecraft is never a graphics-intensive title. Even the most “potato” system can run Minecraft, no problem. However, it’s a 3D game and it can greatly benefit from the dedicated hardware for 3D processing, right? There are currently 3 major GPU vendors in the market: Intel (integrated GPU), NVIDIA and AMD.
Graphics drivers are proprietary. However, AMD has open-source driver support. No matter what GPU you have, to get the appropriate driver set, follow the following steps.
From “Menu”, search for “driver”.

Click “Driver Manager”.
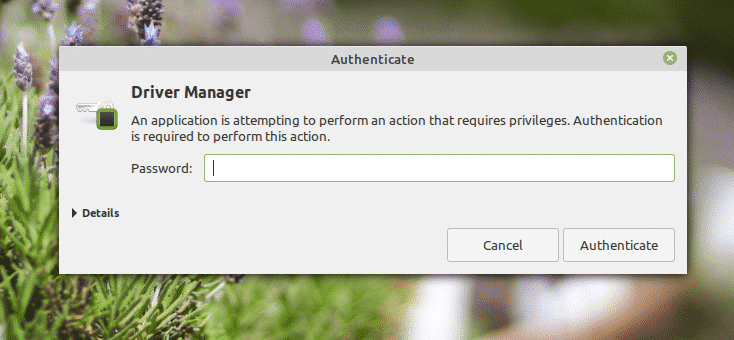
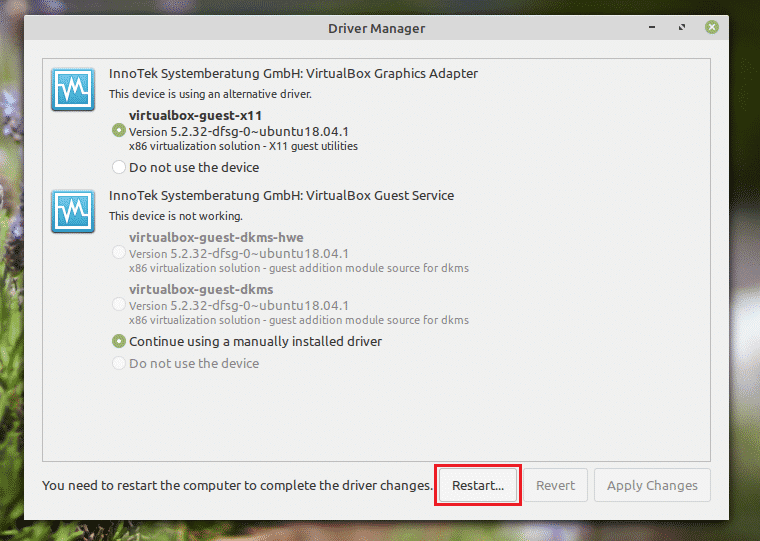
You’re about to perform something sensitive, so it’ll require the root password.
From the screen, you can choose the proprietary driver for your system.
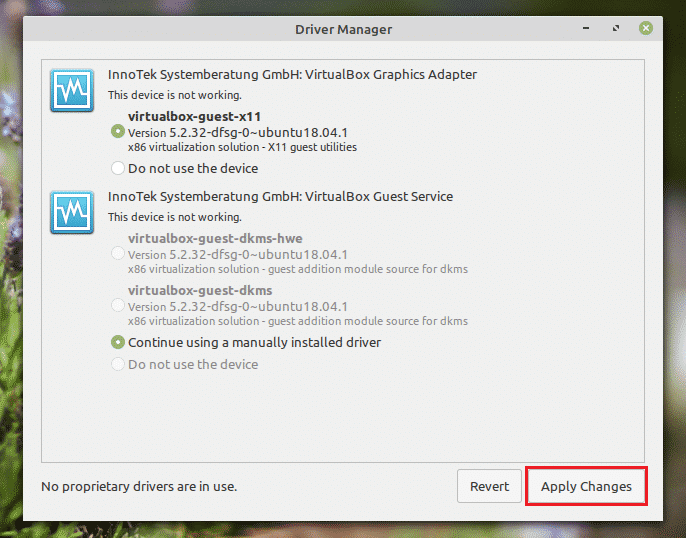
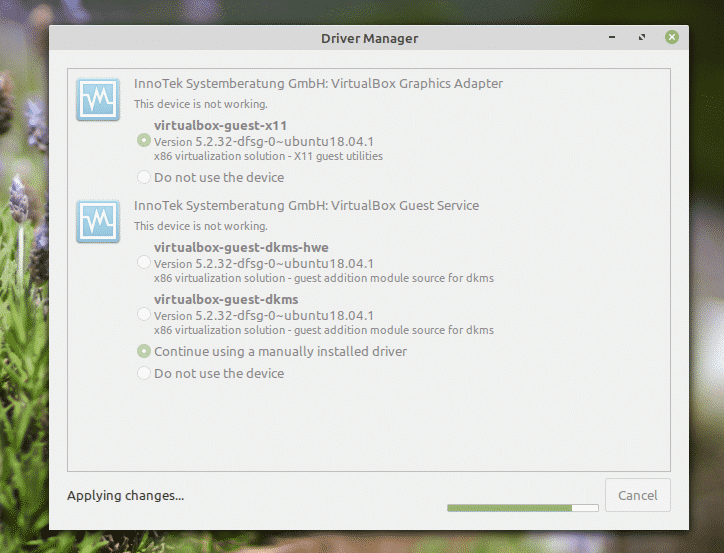
If you’ve made any changes, click “Apply Changes”.
You’ll have the option to restart your system. Restart to take the changes into effect.
Step 3. Installing a suitable JRE
Here comes a bit tricky part. There are numerous JRE (Java Runtime Environment) available in the market. While the OpenJDK should work just fine, the official recommendation for Minecraft is using the Oracle one since that’s what devs used to create the game.
Here, I’ll be showcasing how to install both OpenJDK JRE and Oracle JRE. If you face any issue with OpenJDK, you have to switch to Oracle.
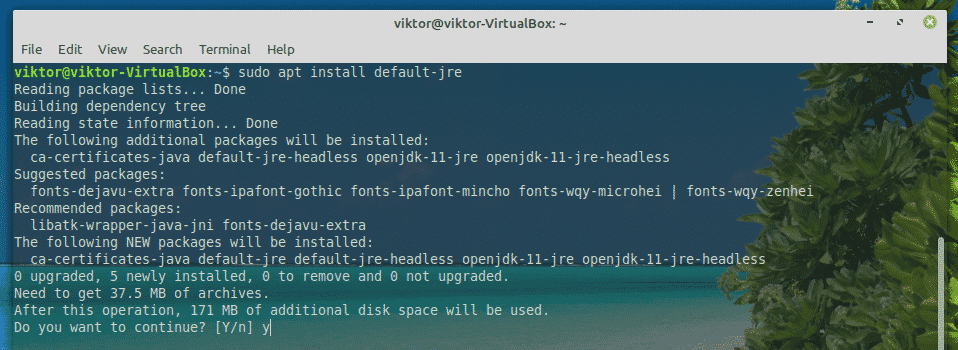
Installing OpenJDK JRE
Fire up a terminal and run the following command.
Installing Oracle JRE
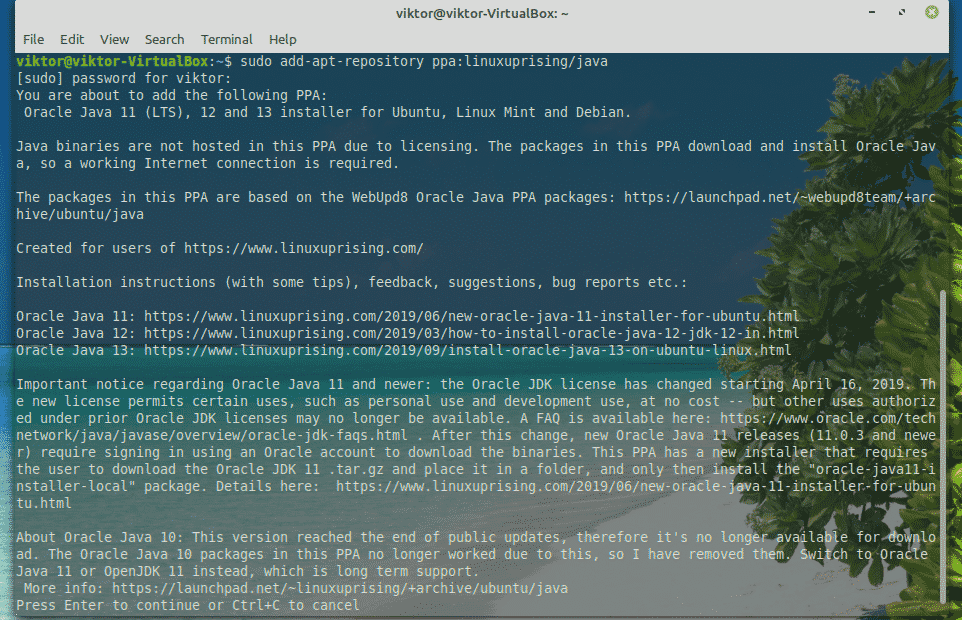
Installing Oracle JRE is a difficult process. It requires some tricky operations of the system. Make sure that you’re following every single step carefully.
Thanks to the developers of Linux Uprising, there’s now a dedicated PPA that offers all the latest versions of Oracle Java. At the time of writing this article, Java 13 is the latest version of Oracle release.
Fire up a terminal and add the PPA.
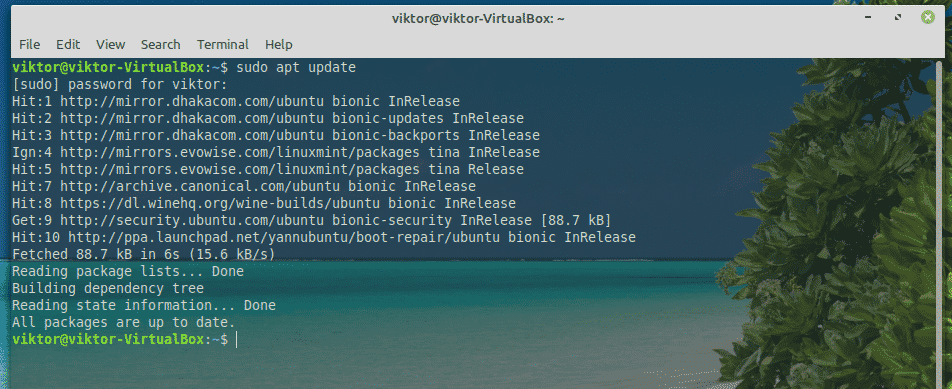
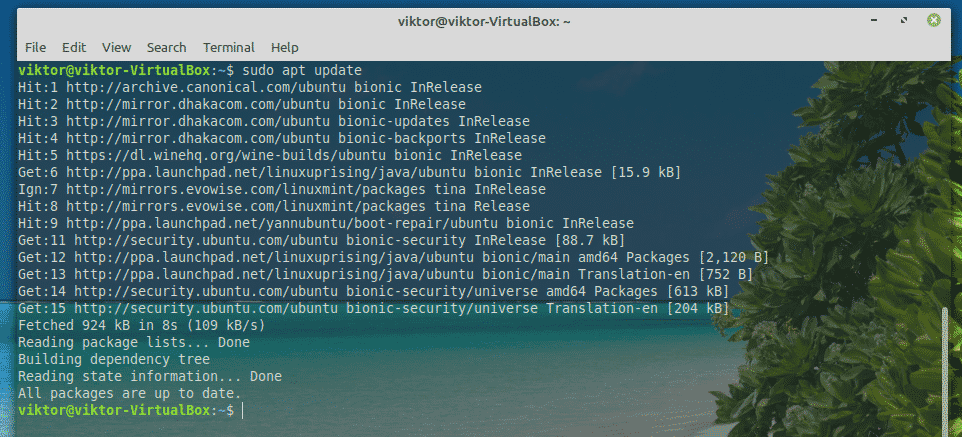
Now, update the APT cache.
Install Oracle JDK 13.

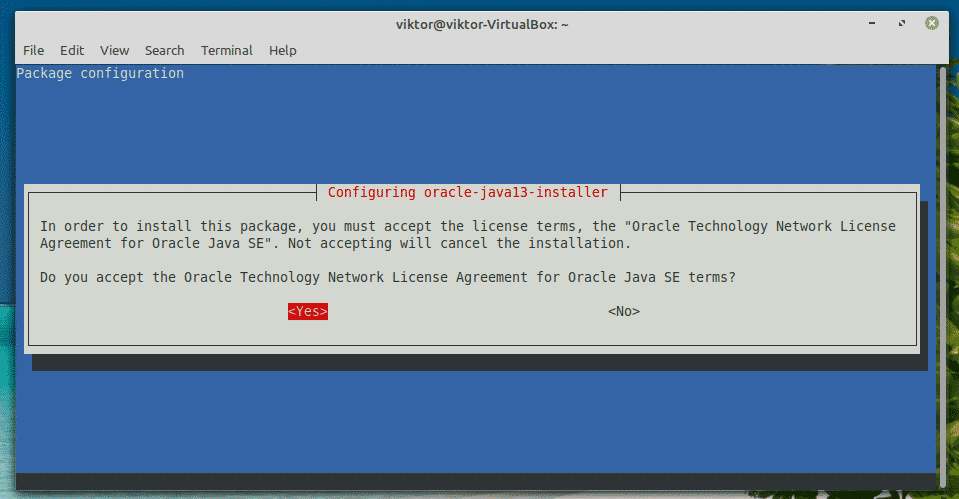
The installer script will start. Accept the license agreement. Select “Ok”.
Here’s another license agreement. Select “Yes”.
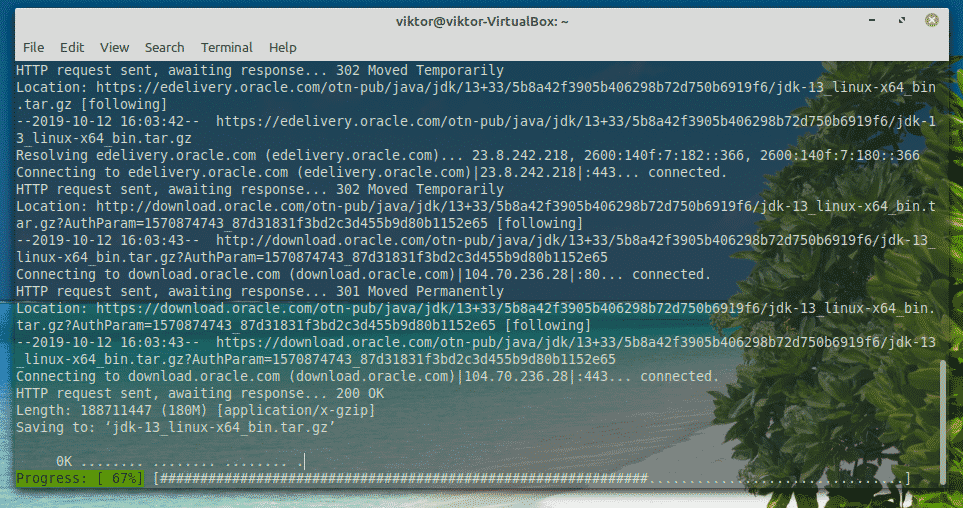
The installation will continue. It’ll take some time, so be patient.
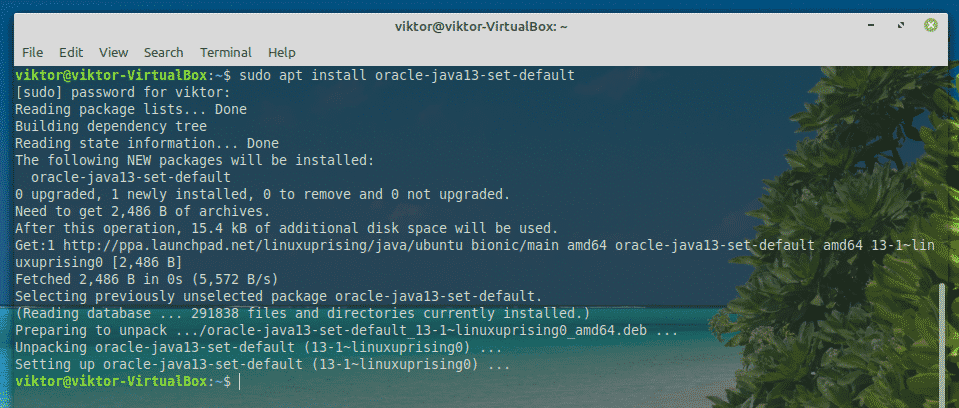
Once the installation is complete, it’s time to set Oracle JDK 13 as the default one. Run the following commands.
Step 4. Install and Play Minecraft
At first, make sure that JRE is installed properly on the system. Fire up a terminal and run the following command.

If the output seems something like this, you’re good to go. Otherwise, follow the instructions described in “Step 4”.
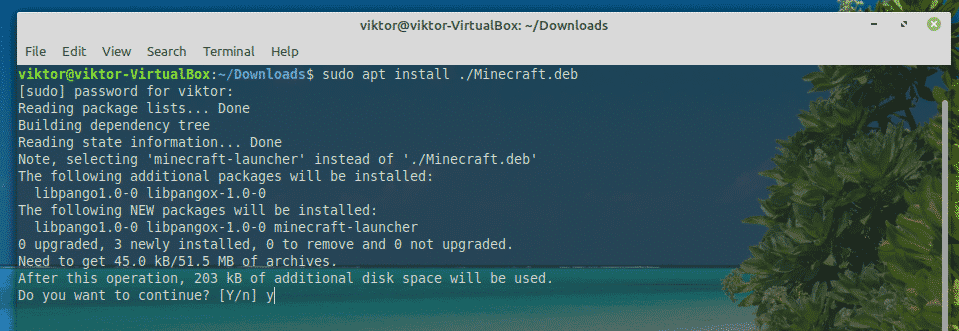
For this guide, I’ll be using the Minecraft demo. Download Minecraft. In this case, it’s the “Minecraft.deb” file.

Once the download is complete, fire up a terminal and install the package.
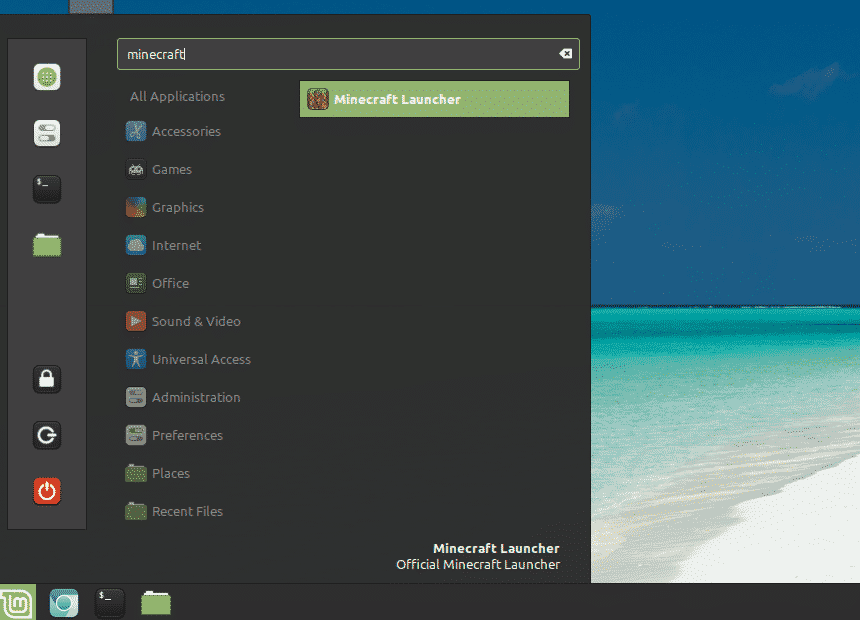
Now, launch the Minecraft Launcher from the menu.
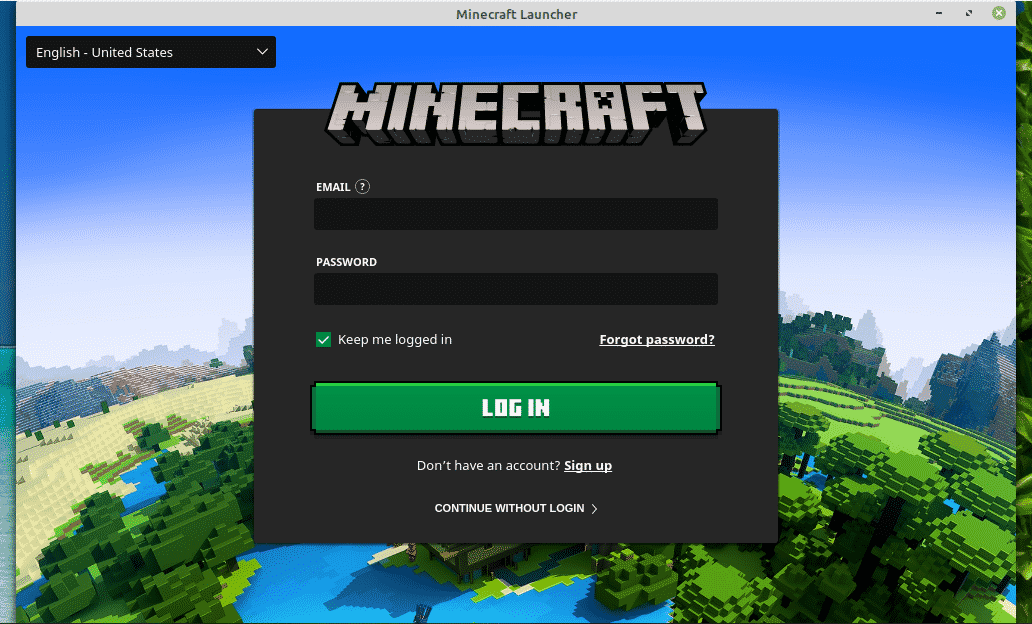
Log into your Minecraft account.
Hit the “Play” icon to start playing!
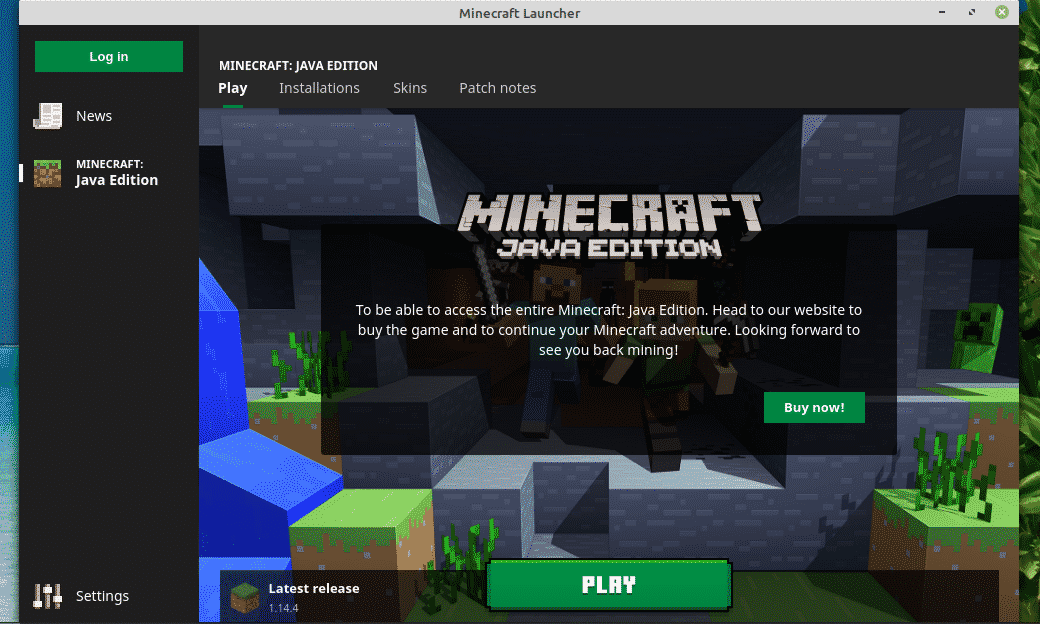
From the “News” section, you can check out all the latest information related to Minecraft.
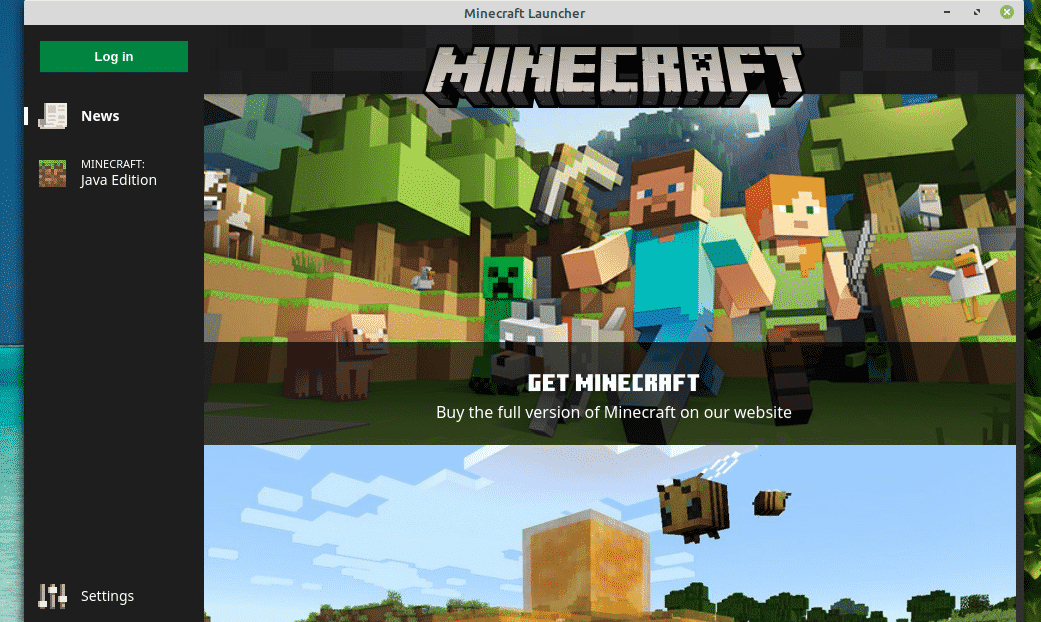
From the “Settings” section, you can tweak the behavior of the launcher.

Final thoughts
Minecraft is one of the simplest games to run for almost any computer. However, if you’re interested in some advanced graphics features like ray tracing (exclusive to NVIDIA GPUs), you need some powerful hardware resources to handle that amount of stress.
Time to pick the diamond pickaxe and grind your way to glory! Enjoy Minecraft!