Linux filesystem hierarchy
Everything starts at the directory tree of Linux. Starting from the “root” (denoted as “/”), the directory hierarchy tree expands to every other location. All the files and folders are within this web.
This is the story of the default filesystem. For accessing any other filesystem, it has to be under the current filesystem as well. Any additional filesystem has to be mounted on a mount point (the directory that’s currently accessible to the existing filesystem). Only then the filesystem will be accessible to the current filesystem. For performing any action, the mount point will act as the gateway from the host to the guest filesystem.
When the work is complete, it can be unmounted. Unmounting is, in essence, detaching the connection between the mounted filesystem and the rest of the filesystem. This is the job that “umount” handles. It takes the mount point of a certain filesystem and detaches it from the existing one.
Let’s check out how to use “umount” for detaching an existing filesystem.
Location

This will show the location of the “umount”. Every time you call this command, it’ll run from there.
Version
To check the version of “umount”, run the following command.
Or,

Unmounting a filesystem
For unmounting, “umount” needs the mount point of that filesystem. Here’s the structure of the “umount” command.
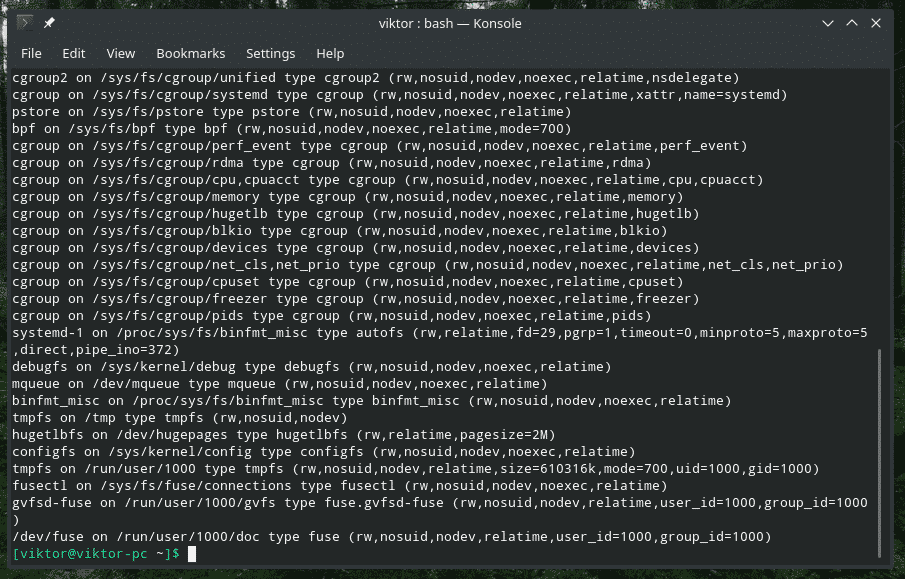
For example, I’ve mounted the Ubuntu ISO. It’s mounted on “/run/media/viktor/Ubuntu 19.04 amd64” mount point. Run the command “mount” to check its existence.

To unmount the ISO, use the following one.

If the unmounting was successful, it’ll go without issuing any warning sign. To verify if it went successfully, run “mount”.

The mount point isn’t listed, meaning it successfully unmounted.
Force unmount
If a mount point is being used, “umount” won’t let you unmount the filesystem. Instead, it’ll throw an error.

Unless you’re confident about the outcome, you shouldn’t try force unmounting any filesystem. If you decide to force unmount, use the “-f” flag.

Seems like even that couldn’t unmount the filesystem. In that case, use lazy unmount. Use the flag “-l”.

Verify the result.
So, what did happen here? The first one will try to unmount the filesystem even if it’s busy. However, it may end up failing the goal in some cases. In that case, we used the “lazy” unmount. It waits for all the disk operations to end and then, unmounting the filesystem.
In the above scenario, I was performing a big file copy. So, using lazy unmount allowed the filesystem to disappear as soon as the file copying task finished.
Detecting filesystem usage
If there’s any program accessing the filesystem, it can’t be unmounted normally. In that case, the best way is looking for the culprit that’s accessing the filesystem and taking necessary actions. There are multiple ways of doing so, but there’s another built-in tool that does the job: fuser.
Run the following command to check out the running processes that are accessing a certain filesystem.

With this output, there are 2 things you can do; ask the owner of the process to terminate it or terminate it using superuser privilege. In this case, let’s follow the second option.
Or,

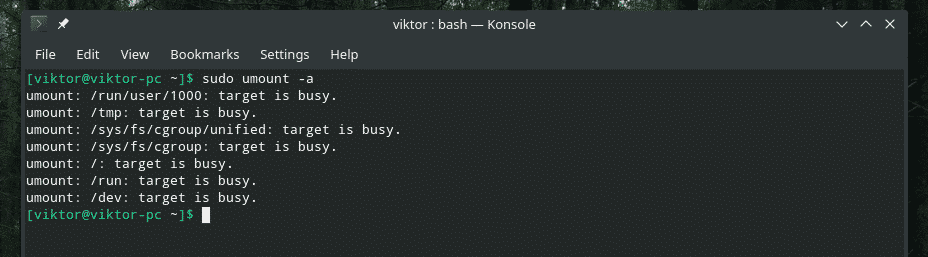
Unmounting all filesystem
Caution: This is a dangerous move. Without any precaution, this command is highly likely to do significant damage to the system.
The following command will unmount all the filesystems of the current system (described in /etc/mtab). With “umount” v2.7 and later, the proc filesystems won’t be unmounted. For this action, use the “-a” flag.
Re-mounting when unmounting fails
This command will tell “umount” to remount the filesystem in “read-only” mode if unmounting fails.

If the mount point was mounted as a loop device, the following command will also free it.

Fake unmounting
The following command will do everything of the unmounting procedure except actually making the umount helper execution. Using this method, the entry can be removed from the “/etc/mtab” file.
Why we might need it? In some cases, there are deprecated entries present in the “/etc/mtab” file. This command will remove the invalid entries without causing any issue.
At first, check out the “/etc/mtab” file.

Now, perform the fake unmount.

Multiple unmounting
If you’re interested in unmounting multiple mount points, you don’t have to run “umount” for each individual mount points. It can all be performed from a single line.

Final thoughts
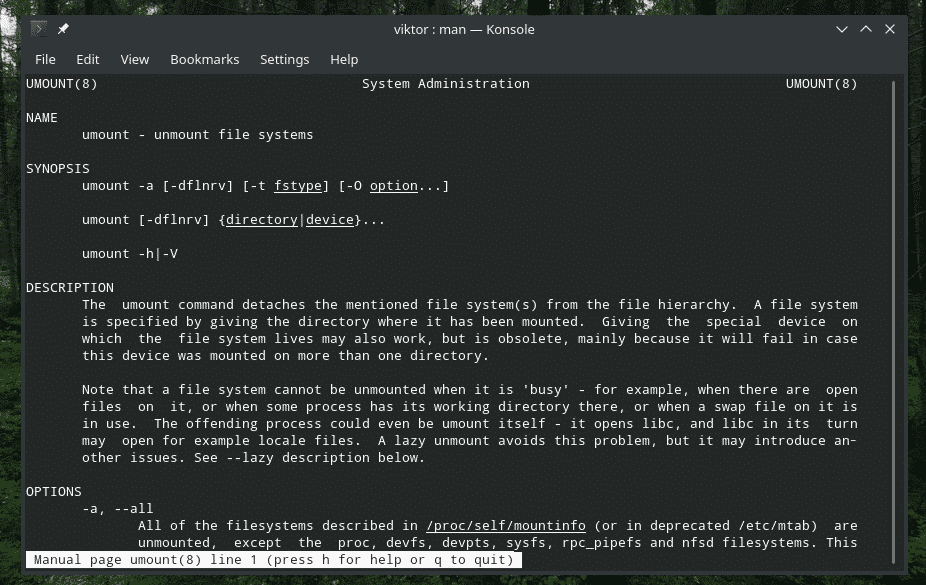
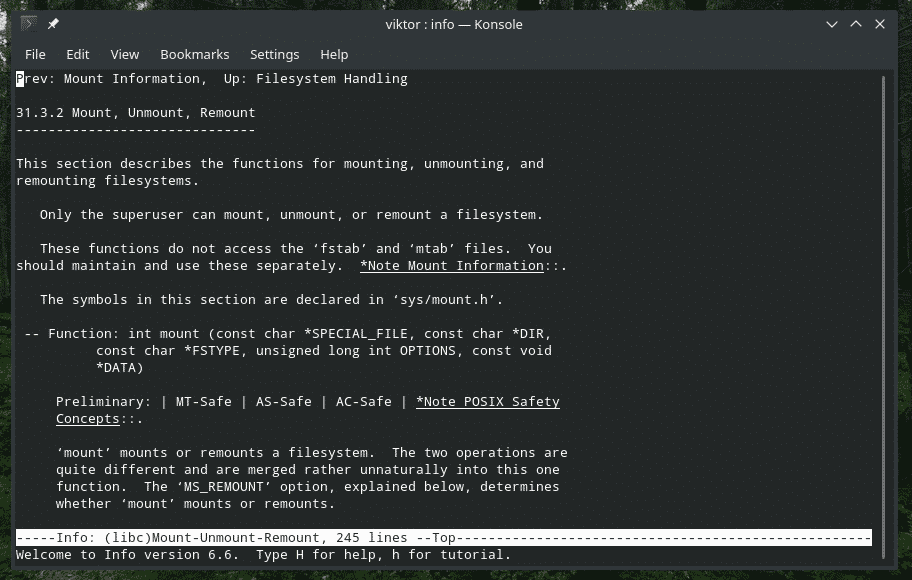
The sole goal of “umount” is to unmount any mounted filesystem from the system. While the usage scenario varies, these are almost all the actions that are performed in most cases. For a complete, in-depth guide on these options, check out the man and info page.
Enjoy!