Linux is a legendary platform with a number of tools built-in within the ecosystem. Of course, there are other 3rd-party tools for checking the disk space utilization. However, there’s also a powerful built-in tool for doing the job – df.
The term “df” stands for “disk filesystem”. Using this tool, you can get a full summary of disk space usage of a particular filesystem. There plenty of scenarios where this can be useful. Let’s jump into the usage, tips, and tricks of “df”!
Location
Almost all the built-in tools are located under the “/usr/bin” directory. “df” is no exception.

Filesystem disk usage
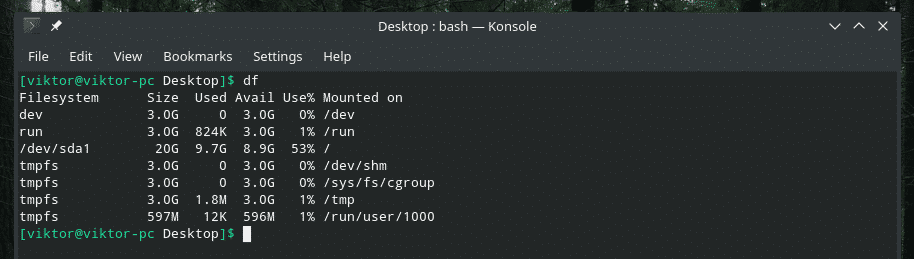
When we run “df” just by itself, it reports the present filesystems on the disk(s) along with other valuable information like their mount points, usage percentage, used and available space and the total number of blocks.
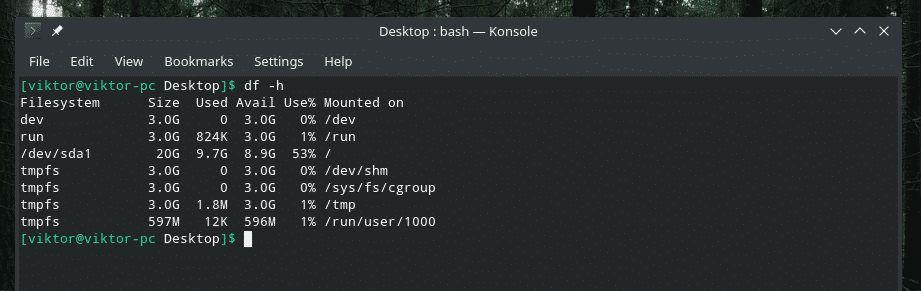
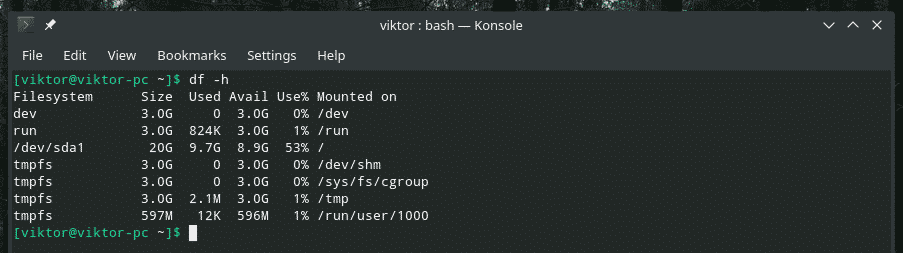
If you’re confused with the output, you can always add the “-h” flag. Essentially, this flag tells “df” to print the output in “human-readable” format.
Display info of all file systems
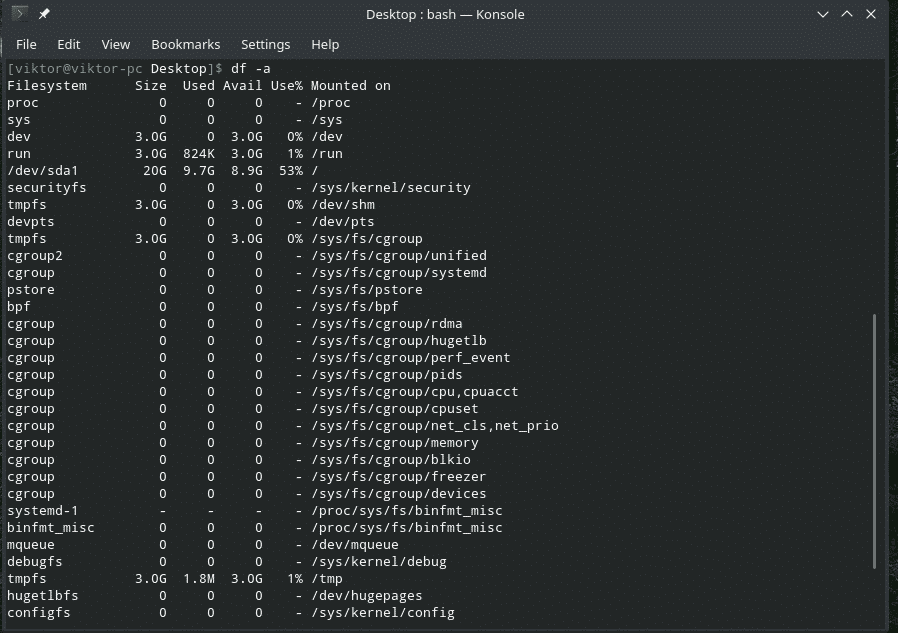
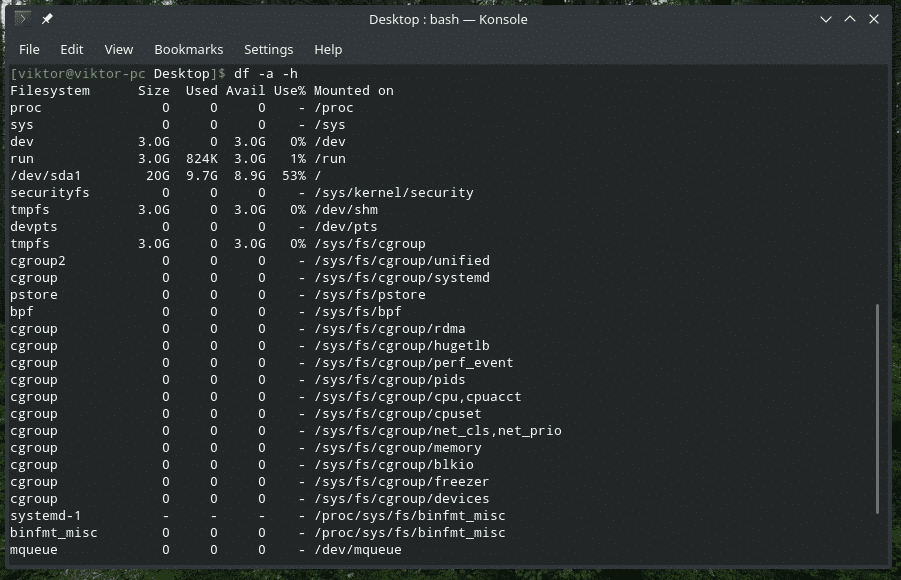
The previous command is, most of the times, going to be all you need to check out the disk usage of different filesystems. However, if there are dummy file systems present and you want their stats as well, there’s a different flag to use. For this purpose, pass the “-a” flag.
Again, for a human-readable format, add the “-h” flag.
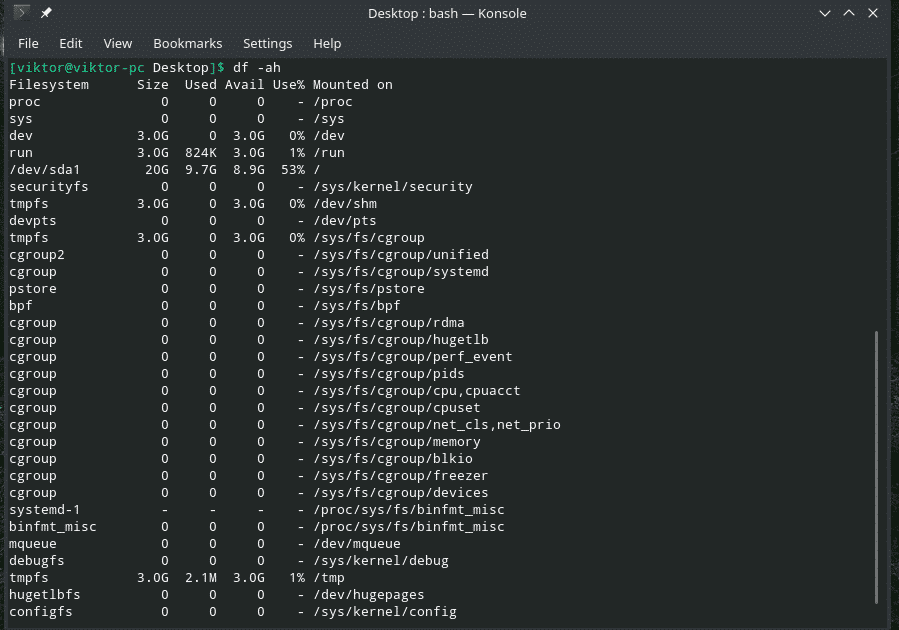
Or,
Disk usage of a specific filesystem
Are you just interested in one particular filesystem?
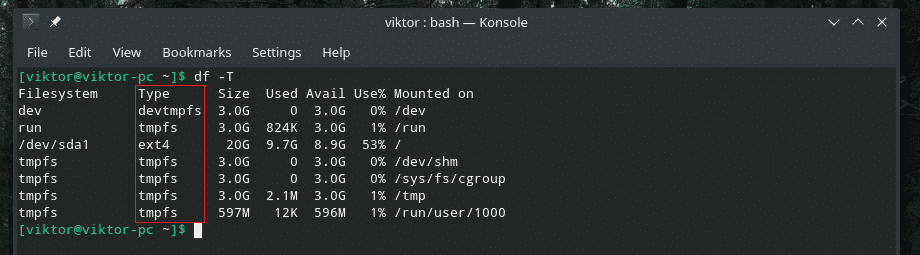
In the previous examples, “df” would show the disk usage of all the filesystems in the system. For checking out the disk usage of a specific filesystem, use the “-T” flag.


I recommend using the “-h” flag for a better understanding of the output.

Display result in MB/GB
Displaying the disk usage stats in MB (megabyte) format is quite helpful to many of us. If you want “df” to output the result in MB, just use the “-m” flag with whatever command you’re throwing at it.
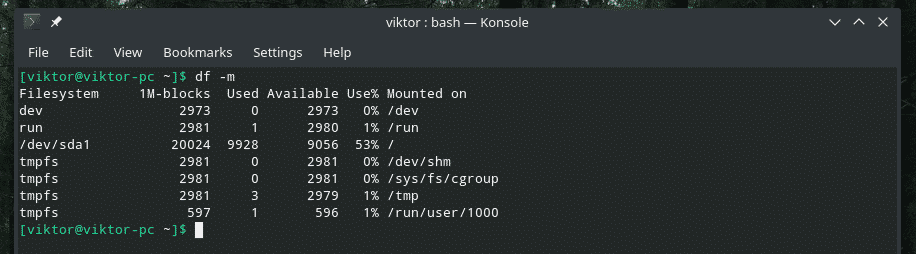
As we can see, the output only shows numbers. These numbers are integers and represent the MB count of each file system.
However, when working with some BIG filesystems, the result in MB is going to be pretty much useless, right? In that case, we have the “-h” option. Yes, it’s the same “human-readable” flag we know and love.
The benefit is, it will show in GB if the size is too big; otherwise, it’ll show as MB or KB.
Inodes info
When running “df”, it doesn’t show the inode info of that filesystem. If you need the inode info, use the flag “-i”.

File system type
Every single filesystem in the ecosystem of Linux has to have a certain type. In cases, the filesystem can be extremely crucial to determine the scope of performing a number of actions. For this purpose, use the “-T” flag.
Specific filesystems
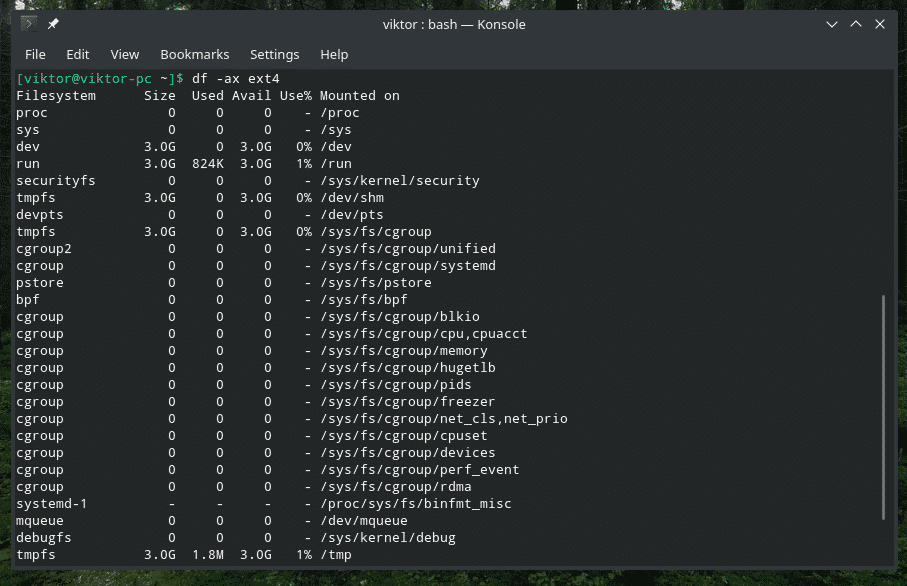
Sometimes, you might want to check the condition of certain filesystems only. For example, how about just the info of all the ext4 filesystems? If your goal is something like that, then use the “-t” flag followed by the filesystem type.
For example, let’s check out the information of all the ext4.

Here, “df” will report all the filesystems that match the type ext4.
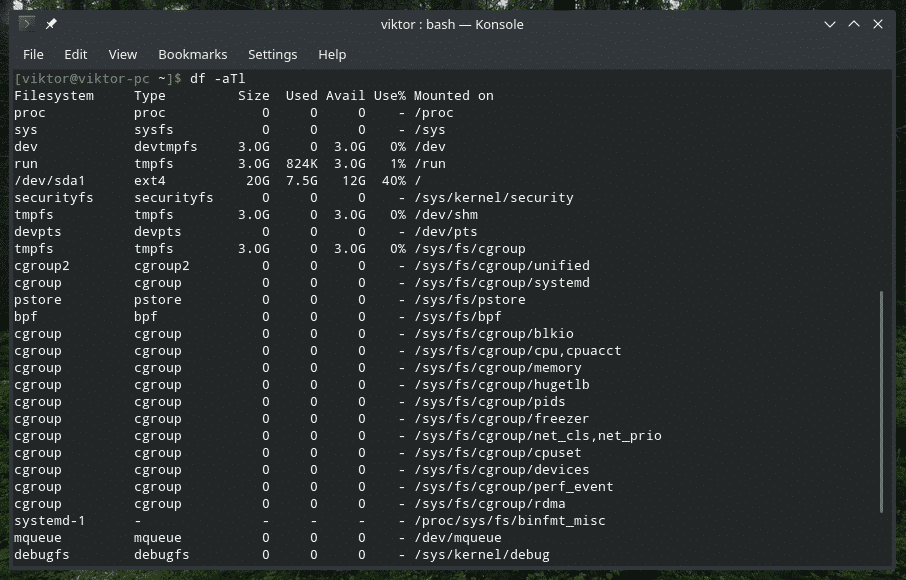
To understand the output better, here’s how I like to modify the command.


Now, the filesystem type is noticeable and easily understandable of the effect of the “-t” flag.
Excluding certain filesystems
In the previous example, we only printed the information about a certain filesystem type, right? How about excluding a certain type and printing about every other filesystem? Yes, “df” also allows such operation. In this case, the flag is “-x” followed by the filesystem type to be excluded.
To understand the effect of this flag, use it with “-a” and “-T”.

Local filesystems
If your system is highly modified and depends on remote filesystems as well, then “df” will also show all of them whenever you’re running any of these commands. If you want local and remote filesystems at the same time, then run the “df” commands as normal. However, if you’re interested in just the local filesystems, then just add the “-l” flag.
“df” version
This is just a trivial thing. If you’re interested in the version of “df”, run the following command.

As the output says, it’s a part of the GNU coreutils. So, any system with this toolkit will have “df” preinstalled.
Final thoughts
There’s not so much thing going on with “df”. It’s a really simplistic yet powerful tool that’s able to meet the needs of almost all the things anyone is about to do with their filesystems. If you’re interested in all the available options and in-depth guide, run the following commands.
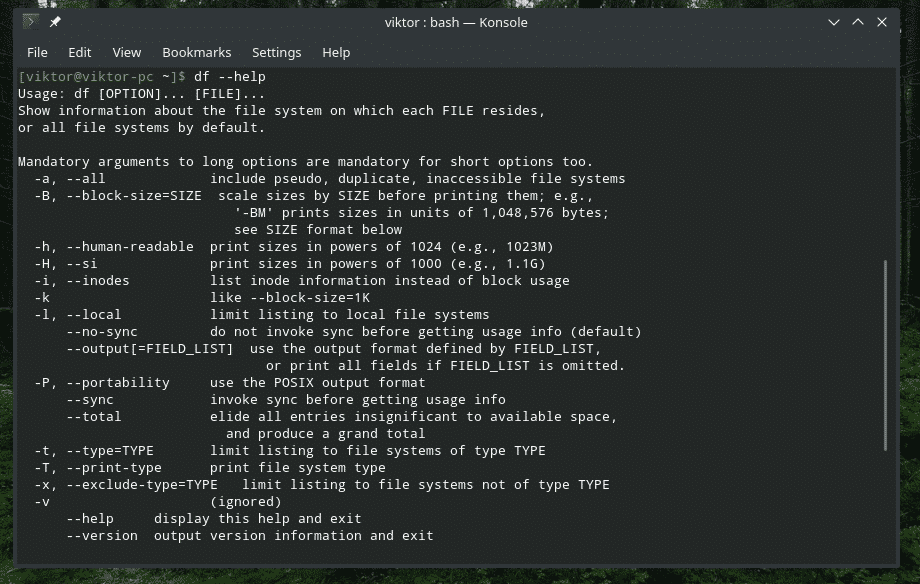

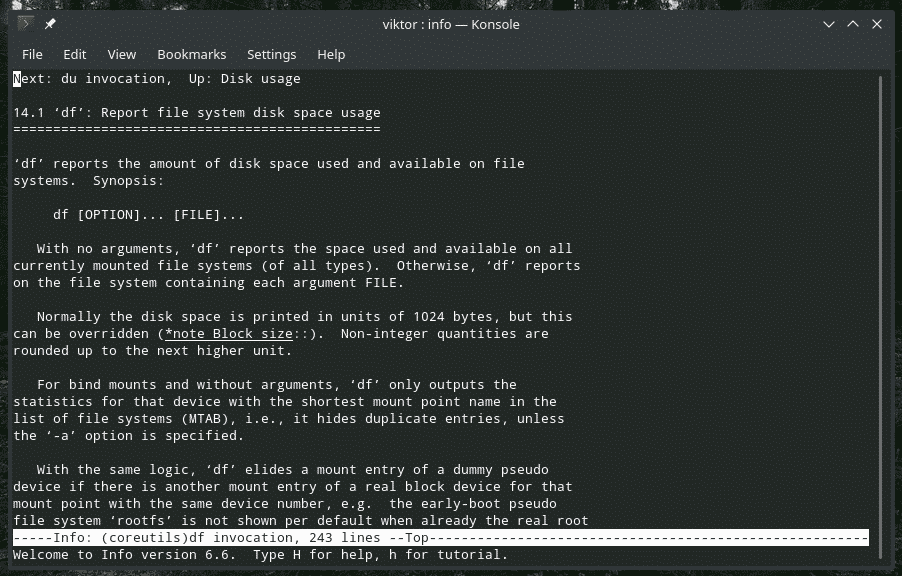
Enjoy!