Setting up Memcached on your system shouldn’t take very long if you properly follow the instructions below:
Installing Memcached
The simplest and straightforward process for installing Memcached on Ubuntu is to unpack the package included with Ubuntu’s default software repository.
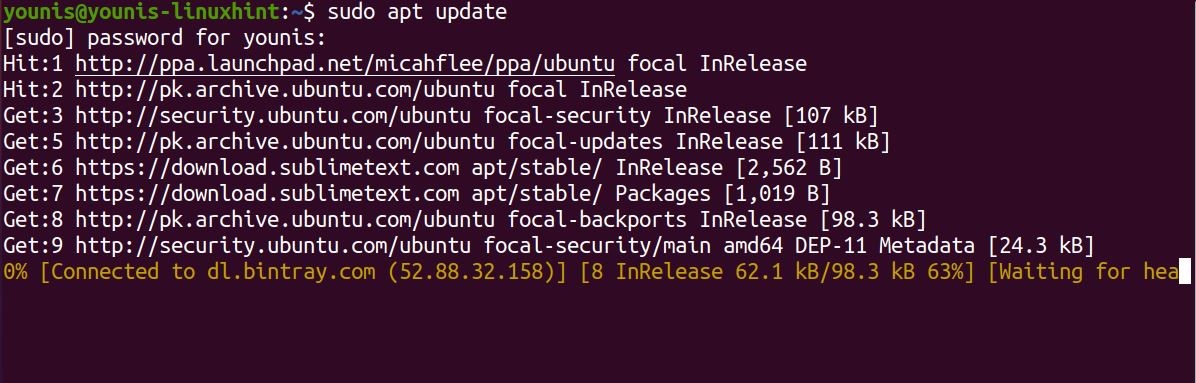
Fire up the terminal and enter the following command to run an update on the repository:
The CLI toolkit is quite handy, and you should install it too. Although installing Memcached with the supporting toolkit is optional, it comes highly recommended.
Run the following command to install Memcached with supporting utilities.

With the above commands executed you should have the Memcached server should be ready to go.
Run a status check by typing in the following command:
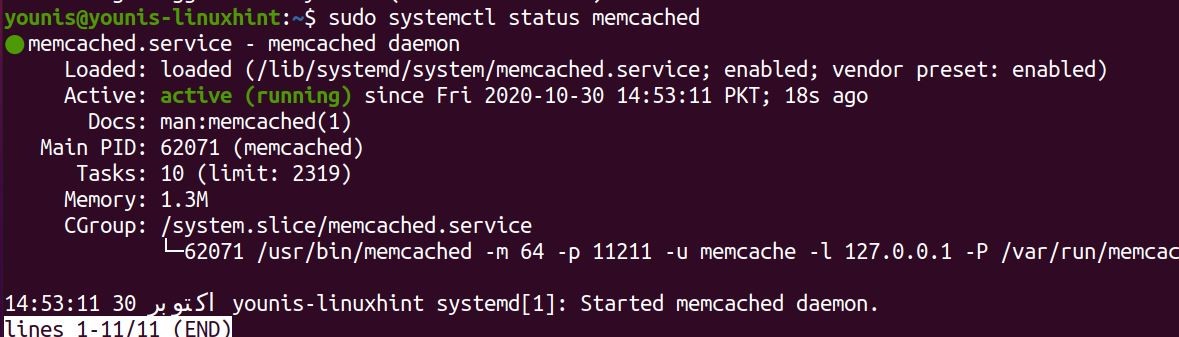
The status check should reveal if the installation went smoothly.
With all of the above covered, we’re ready to start configuring the server.
Configuring Memcached
To configure Memcached, we will need to edit the configuration file. Go to /etc/memcached.conf and start editing the file. While the default settings allow for smooth operations, you can always change the options to better match your hardware settings to speed up the cached memory accessibility by a notch more.
One setting that you can change is the default IP address 127.0.0.1, which Memcached listens on. You can specify IP address listening by editing the following line in the config file:

Set the IP address which you want Memcached to listen to in the line above and change the default ports to ports of your choice.
To make the changes persistent, save, and exit the file. Then stop the Memcached server by typing in:
Then you can restart it with:
Finally, enable the Memcached service with:

You’ll see that changes you made before saving the file have been applied.
Allow via ufw firewall with the following command.

Wrapping up
Despite being such a dynamic utility, setting up Memcached on ubuntu 20.04 is pretty simple. And it is just as easy to use and integrate into your system, provided that you keep an eye out for changes and update it regularly.