Downloading IntelliJ IDEA:
IntelliJ IDEA is not available in the official package repository of Ubuntu. But we can easily download IntelliJ IDEA from the official website of JetBrains and install it on Ubuntu.
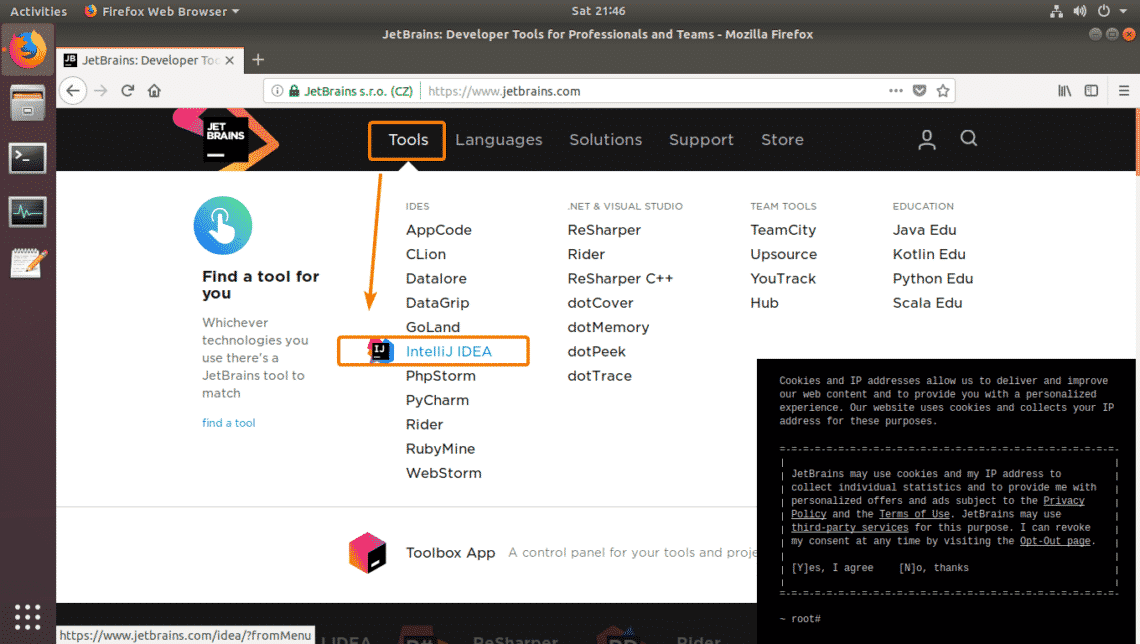
First, visit the official website of Jetbrains at https://www.jetbrains.com. Once the page loads, go to Tools > IntelliJ IDEA as marked in the screenshot below.
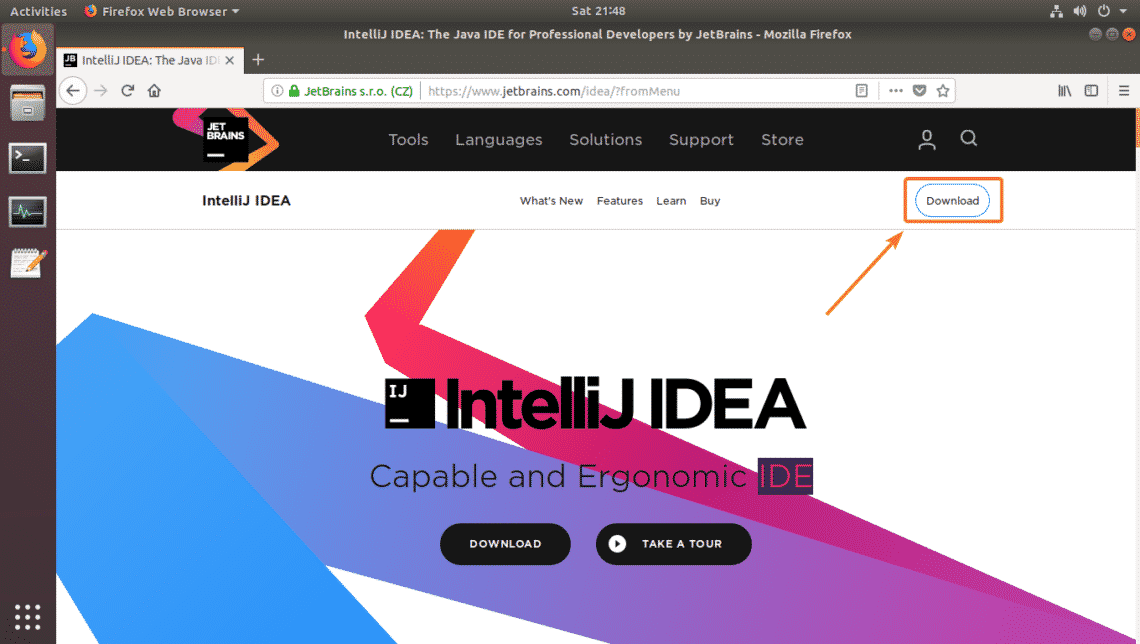
Now, click on Download.
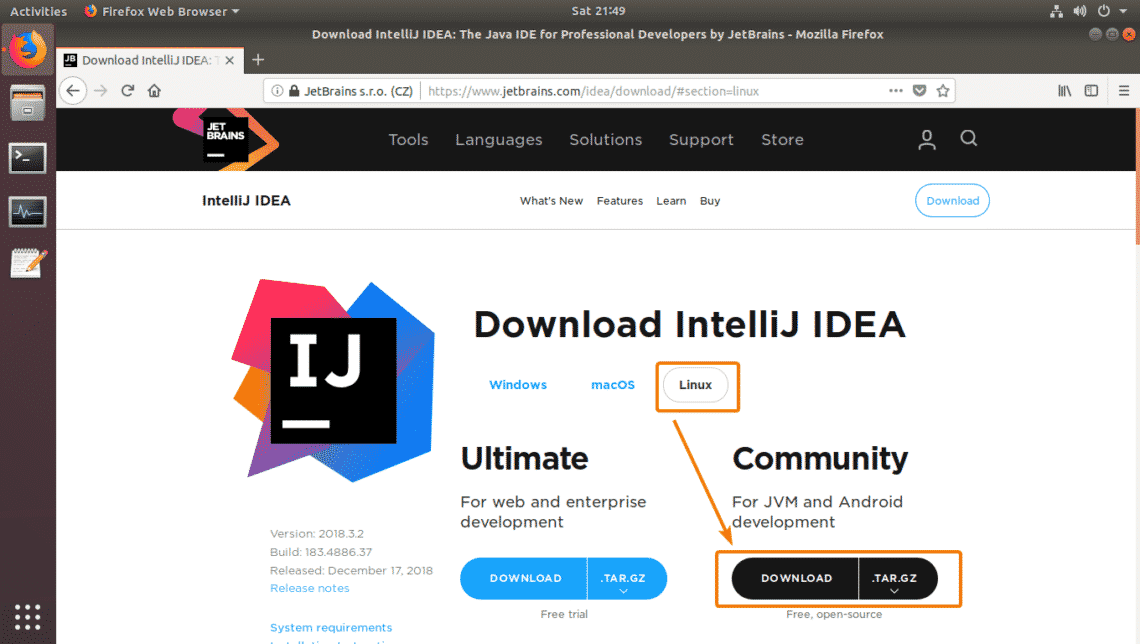
Now, make sure Linux is selected and click on the Download button as marked in the screenshot below.
NOTE: IntelliJ IDEA has 2 versions, Ultimate and Community. The Community version is free to use, but the Ultimate versions is not. You must buy a license from JetBrains if you want to use the Ultimate version fo IntelliJ IDEA. In this article, I will go with the Community version.
Now, select Save File and click on OK.
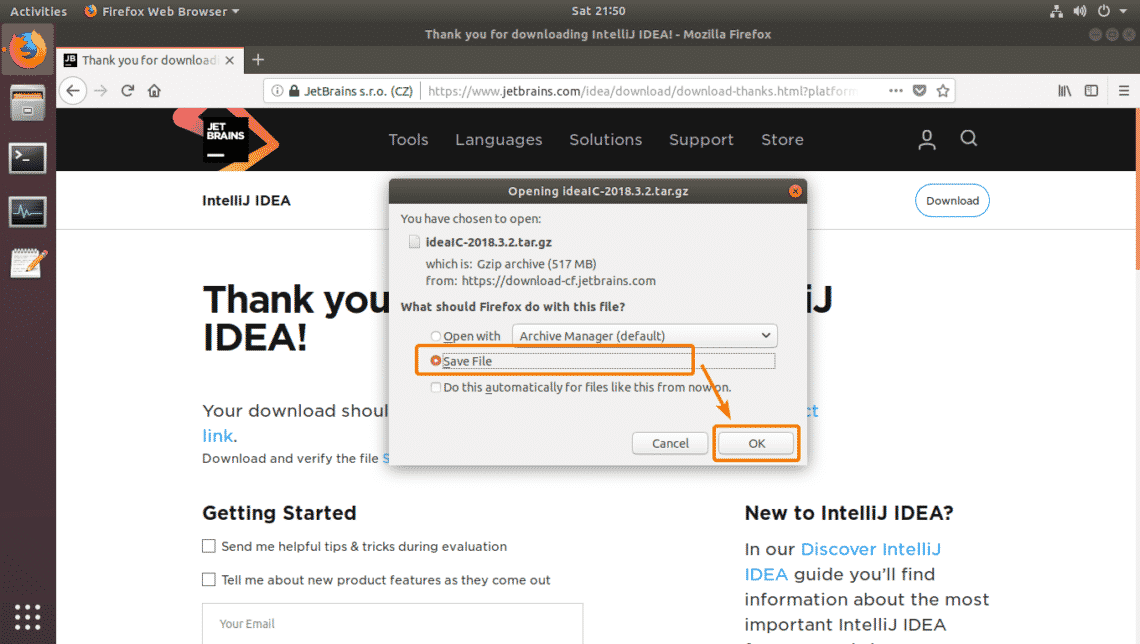
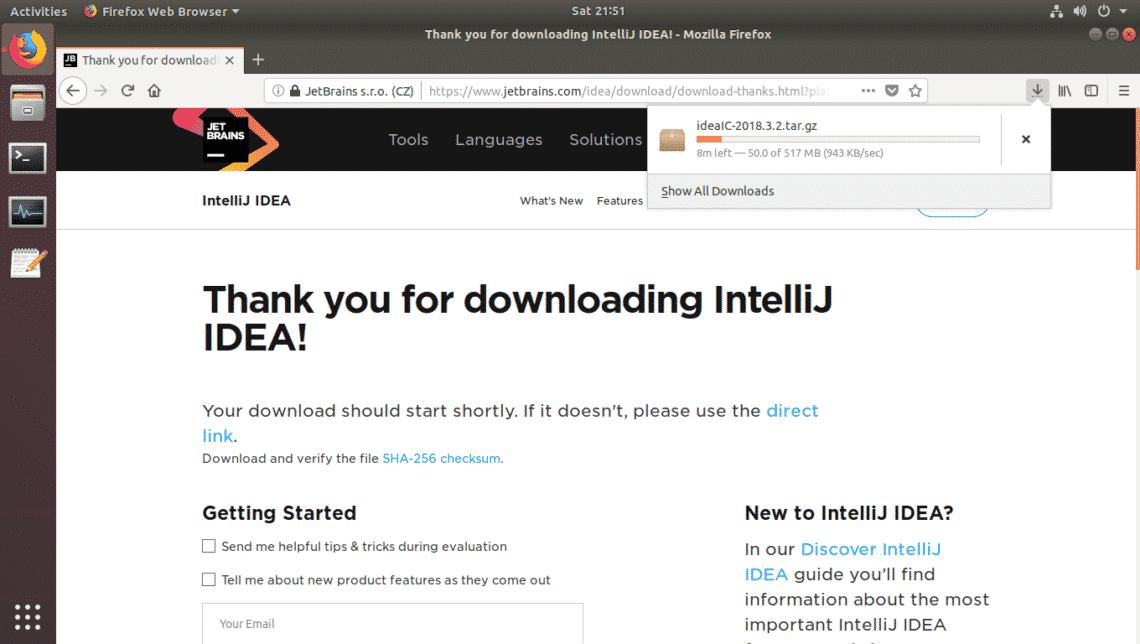
Your browser should start downloading the IntelliJ IDEA archive file. It may take a while to complete.
Installing and Configuring IntelliJ IDEA:
First, navigate to the directory where you downloaded IntelliJ IDEA with the following command:

As you can see, the file I just downloaded is here.

Now, run the following command to install IntelliJ IDEA to the /opt directory.
NOTE: If you want to install IntelliJ IDEA somewhere else, replace /opt with the directory path where you want to install it.

Once IntelliJ IDEA archive is extracted, you should see a new directory in the /opt directory as you can see in the screenshot below. Take a note of the directory name. You will need it to run IntelliJ IDEA for the first time.

Now, run IntelliJ IDEA as follows:

As you’re running IntelliJ IDEA for the first time, you will have to configure IntelliJ IDEA.
Here, select Do not import settings and click on OK.

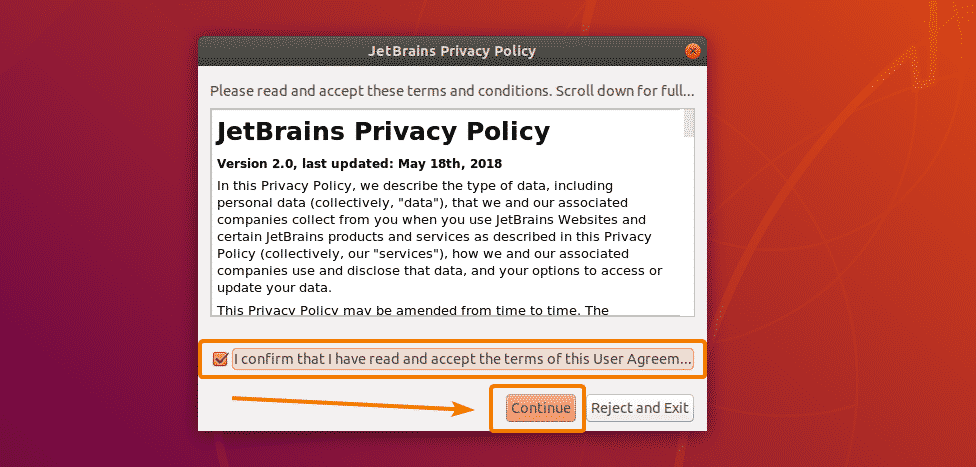
Now, check the I confirm that I have read and accept the terms of this User Agreement checkbox and click on Continue to confirm the JetBrains Privacy Policy.
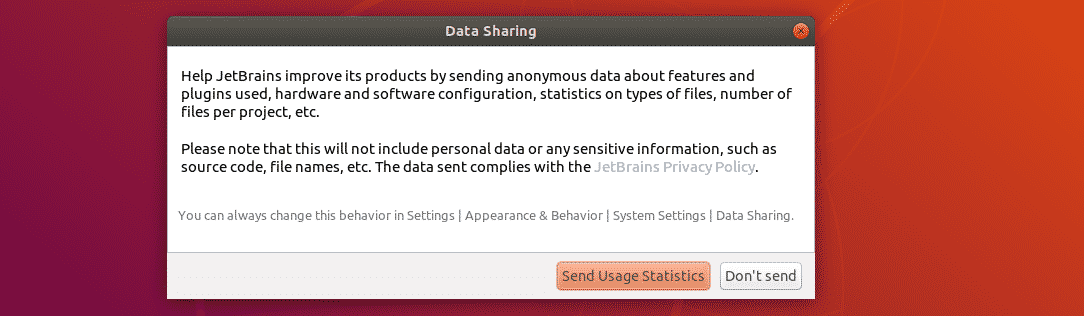
Now, you may click on any one of these buttons depending on whether you would like to share statistics data with JetBrains to help them improve their products.
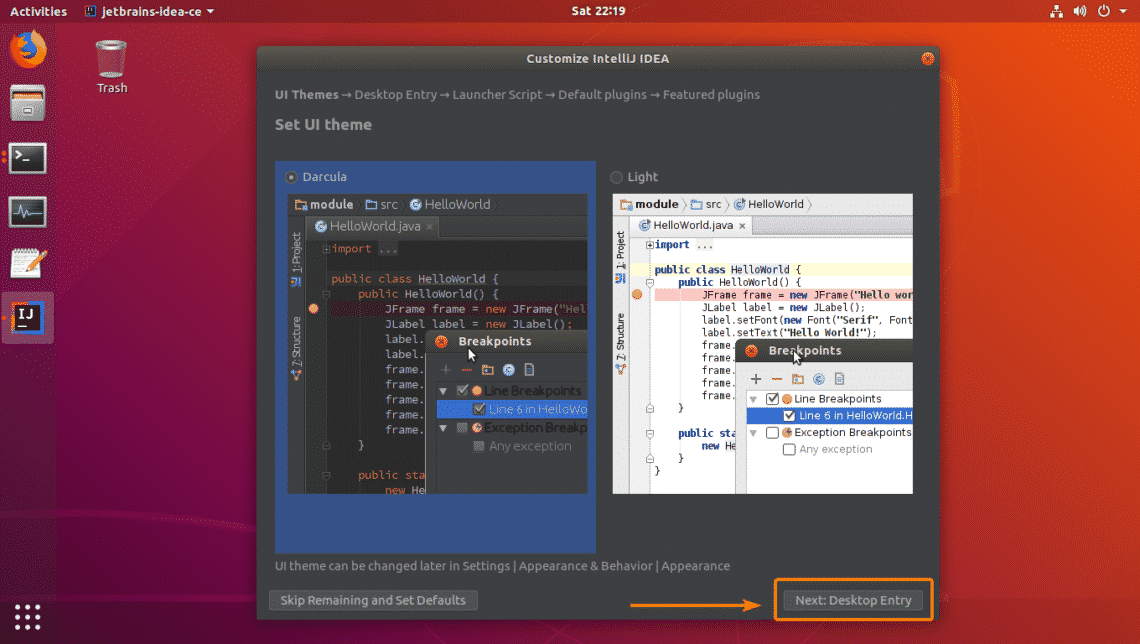
Now, select a UI theme and click on Next: Desktop Entry as marked in the screenshot below.
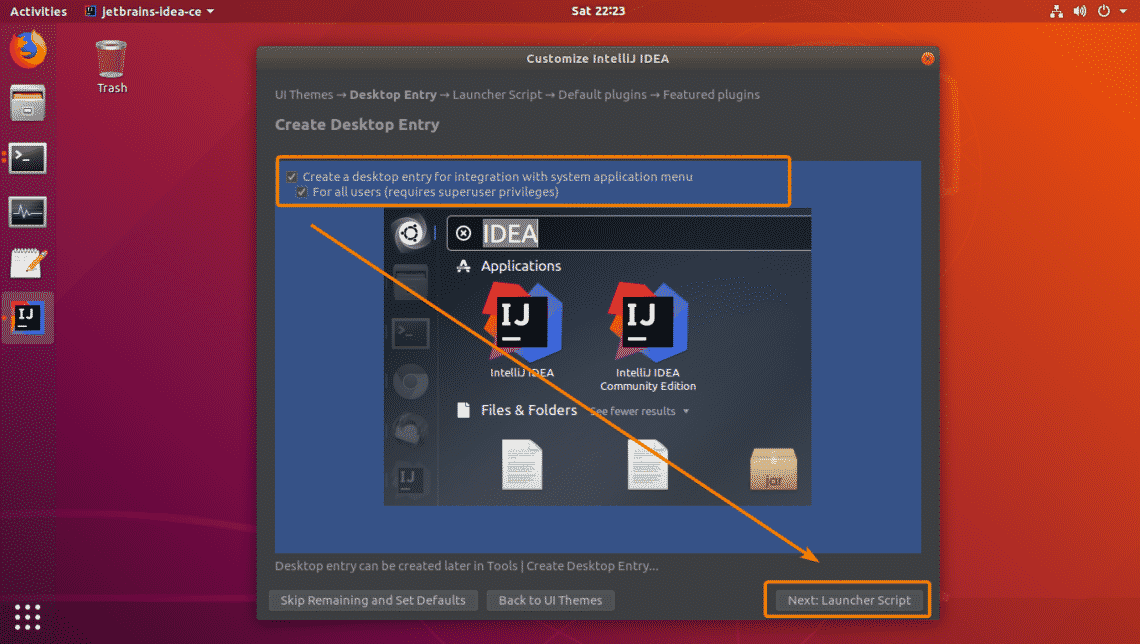
Now, you have to create a Desktop Entry for IntelliJ IDEA. That way, you can easily access IntelliJ IDEA from the Application Menu of Ubuntu. To do that, make sure the marked checkboxes are checked and click on the Next: Launcher Script button.
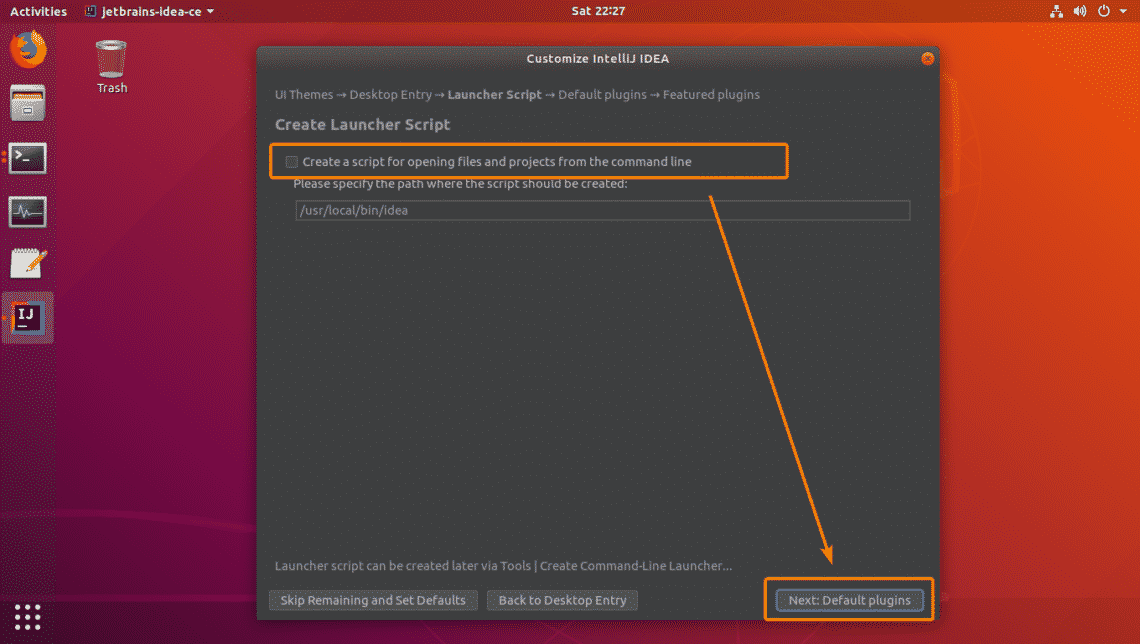
If you want to launch IntelliJ IDEA projects from the command line, check the marked checkbox. Otherwise, leave it unchecked. Once you’re done, click on Next: Default plugins.
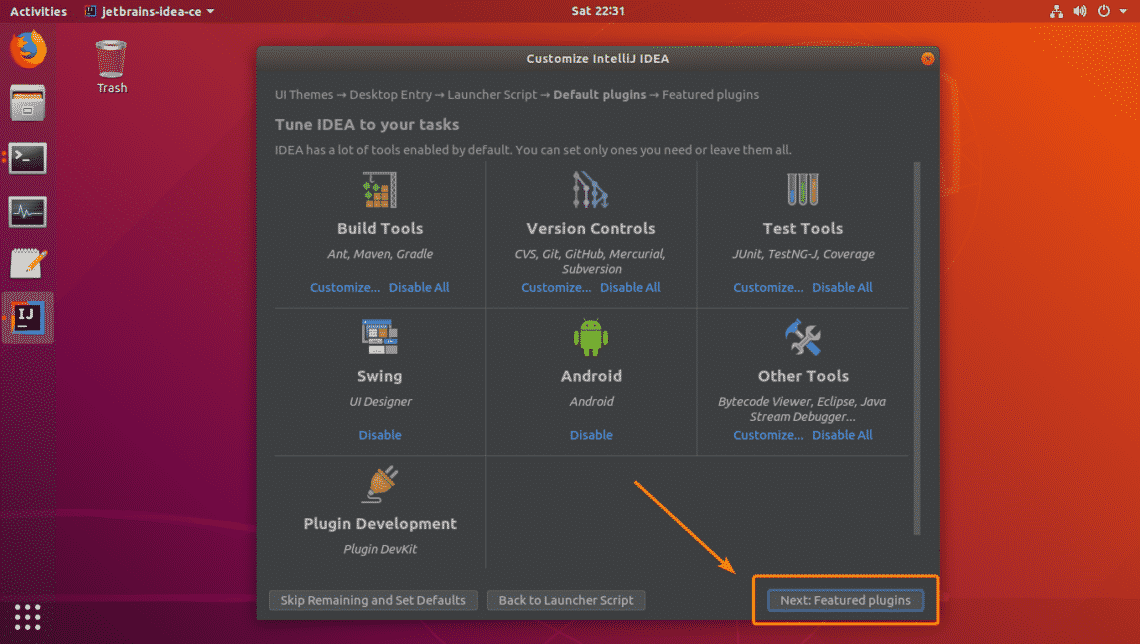
Now, you can enable/disable the plugins you need to tune IntelliJ IDEA to your need from here. Once you’re done, click on Next: Featured plugins.
Now, IntelliJ IDEA will suggest you some plugins that you may need. If you want to install any of them, just click on Install and it will be installed. Once you’re done, click on Start using IntelliJ IDEA.

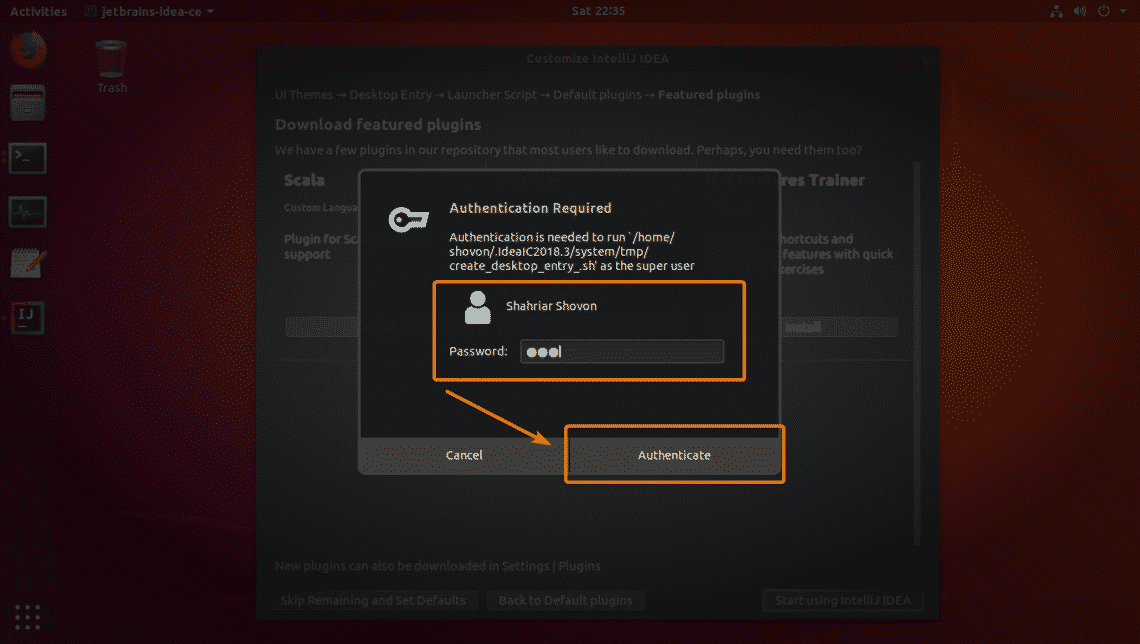
Now, type in your login password and click on Authenticate.
IntelliJ IDEA is loading as you can see in the screenshot below.
As you can see, IntelliJ IDEA is running. It is the dashboard of IntelliJ IDEA.

Now that IntelliJ IDEA is installed, you can also run it from the Application Menu of Ubuntu as you can see in the screenshot below.

Creating a New Java Project in IntelliJ IDEA:
In this section, I will show you how to create a new Java project in IntelliJ IDEA. So, let’s get started.
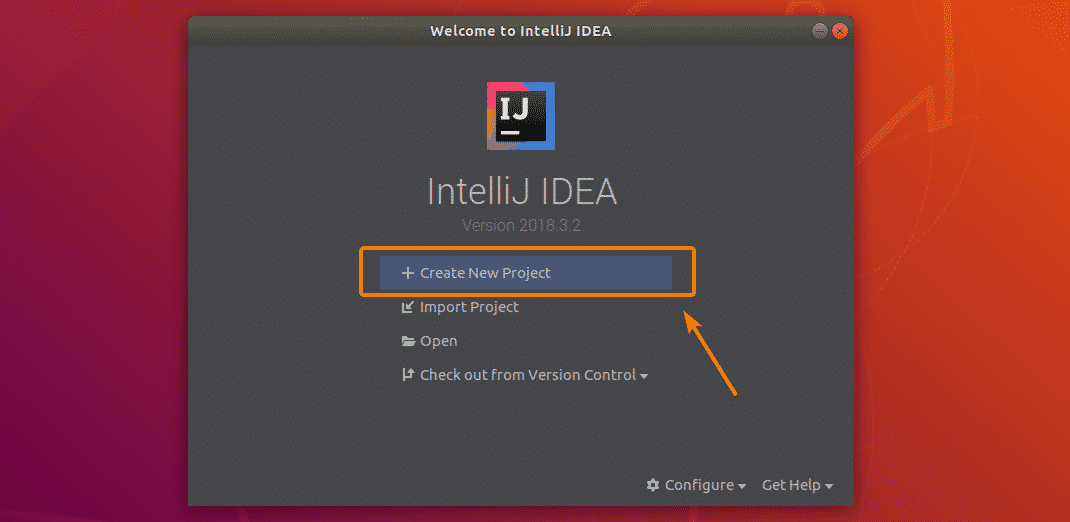
First, start IntelliJ IDEA and click on Create New Project.
Now, select Java from the list and click on Next.

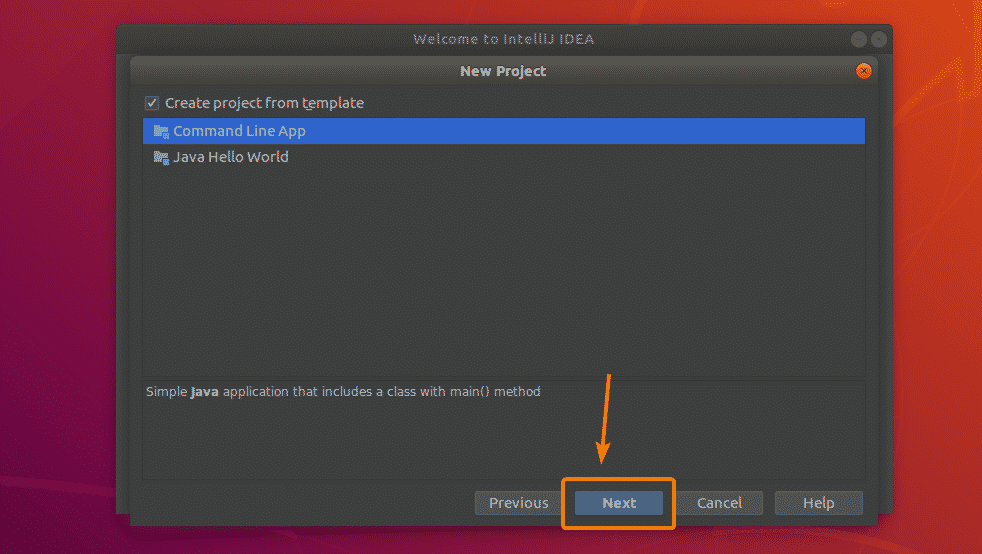
From here, check Create project from template and select Command Line App. Once you’re done, click on Next.
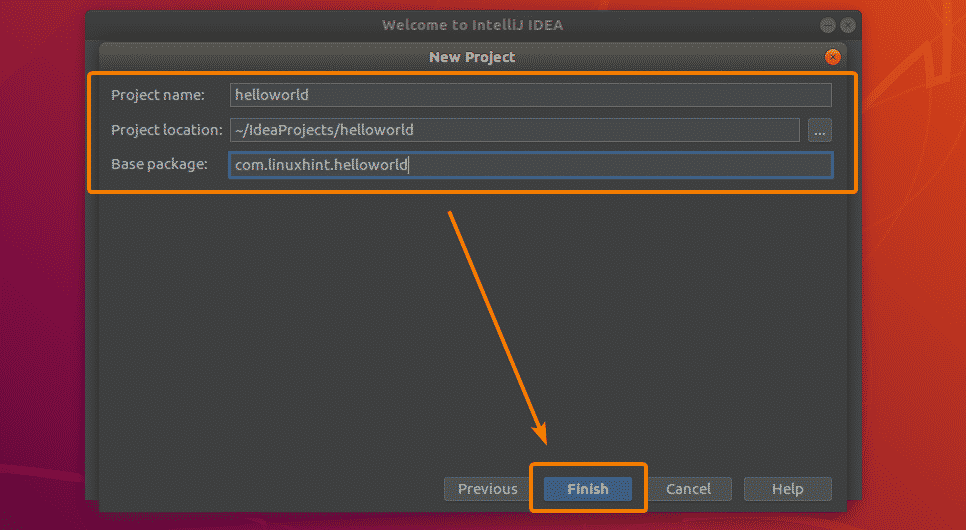
Now, type in your project name, project location, and package namespace. Once you’re done, click on Finish.
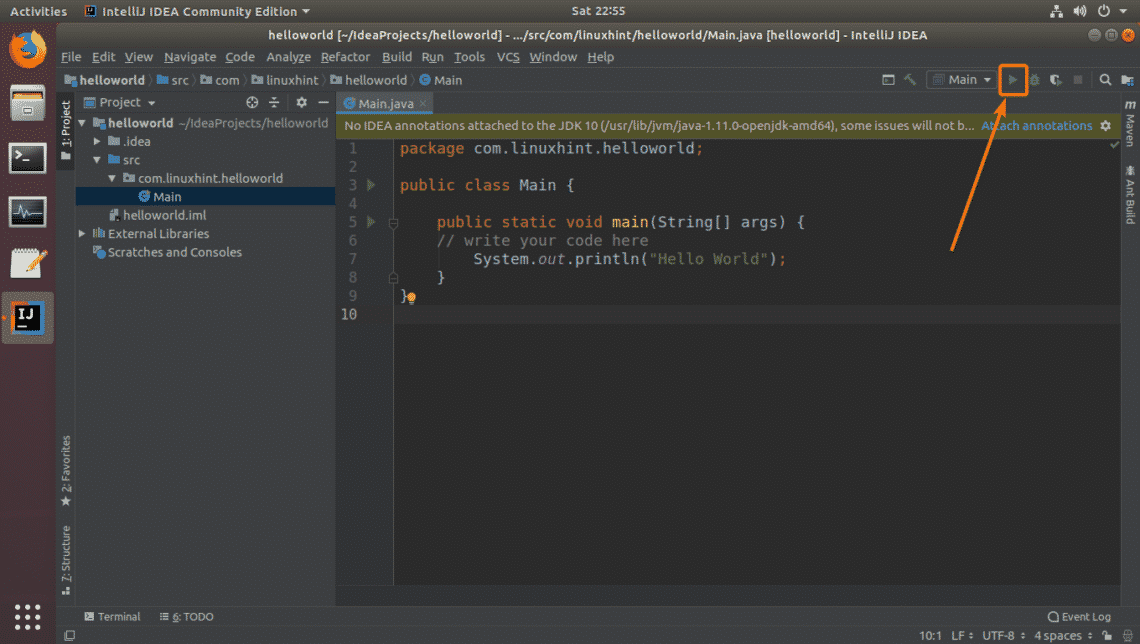
Now, write your Java program. Once you’re done, you need to compile and run your Java program. To do that click on the Play button as marked in the screenshot below.
As you can see, the correct output is displayed.

So, that’s how you install JetBrains IntelliJ IDEA Java IDE on Ubuntu. Thanks for reading this article.