This tutorial will be of great help to all Debian users who wish to install Swift on their computers. We will be using Debian 10, but even if you do not have the latest version of Debian installed on your system, feel free to follow the same procedure on your computer.
Prerequisites
- Debian 10
- A sudo user
Installing Swift in Debian 10
To install Swift in Debian, open the terminal using the Ctrl + Alt + T shortcut, then follow the
steps listed below:
Step 1: Updating Packages
To update your packages, run the following command in the terminal window:
![]()
The above command will begin to update the packages of your Debian server.

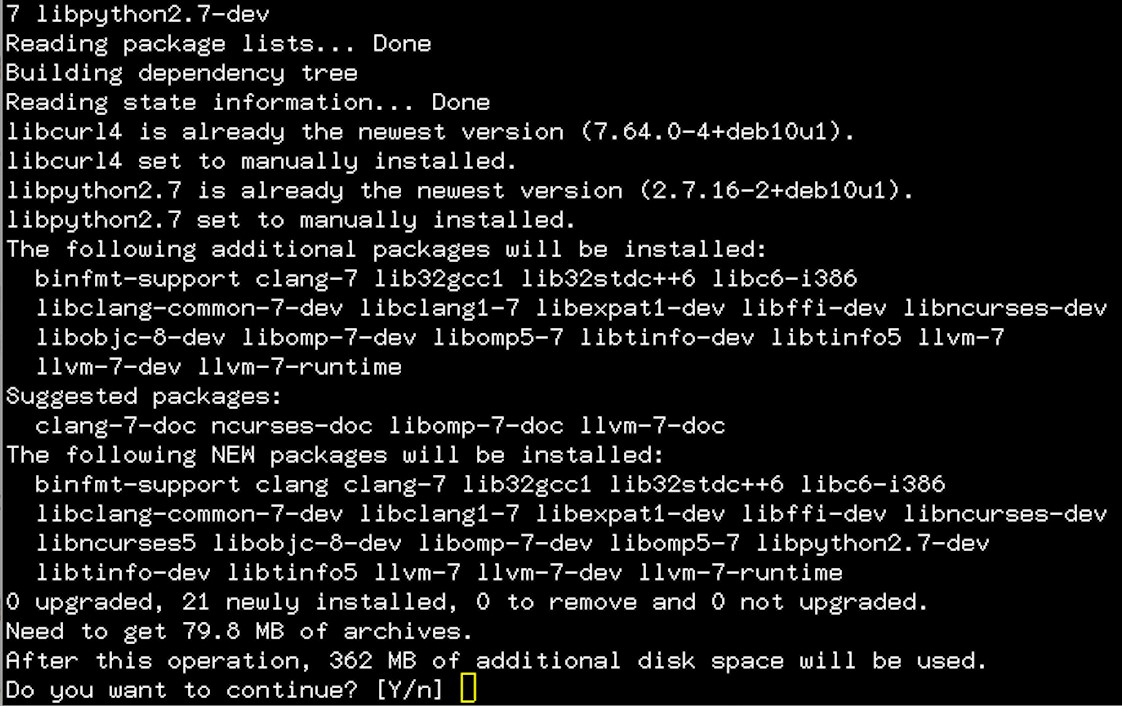
Step 2: Installing Required Dependencies
To install all the dependencies required to install Swift on a Debian 10 server, issue the following command in the terminal window:

After some time, the system will prompt you to ask you for permission to continue. Press Y to confirm and then press the Enter key to continue.
Using this method, users can install and update all of the required dependencies on their servers.
Step 3: Installing Swift
The next step is to install Swift on the Debian server. Because there is no pre-defined method for installing Swift on a Debian system, we use the following link to install Swift on our Ubuntu 18.04 system. The latest version available at the time of writing this article is 5.1.3. If there is another version available when you are implementing this method, then feel free to opt for that version by using the following command to get the latest archive version of Swift:

After that, the download will be completed, and an archive file will be saved.

Once the download of the Swift package has been completed, extract this newly downloaded archive file. Execute the following command in the terminal window:
![]()
Next, move this newly extracted folder to the opt directory using the following command:
![]()
Step 4: Configuring PATH Environment Variable
You must add the Swift installation path into the PATH environment variable of your system. To do so, issue the following command:
![]()
After that, issue the following:
![]()
This marks an end to the process of installing and configuring Swift on the Debian 10 server.
Step 5: Verifying Installation Process
To verify the installation of Swift, issue the following command in the terminal window:
![]()
The output will display the version of Swift installed on your server. This output indicates a successful installation process.

Conclusion
This article showed you a step-by-step method for installing Swift on a Debian 10 server. After installing Swift, you can also verify the installation using the last step in this tutorial.