In this article, I will show you how to install Python 2 PIP and Python 3 PIP on CentOS 7. Let’s get started.
Pre-requisites:
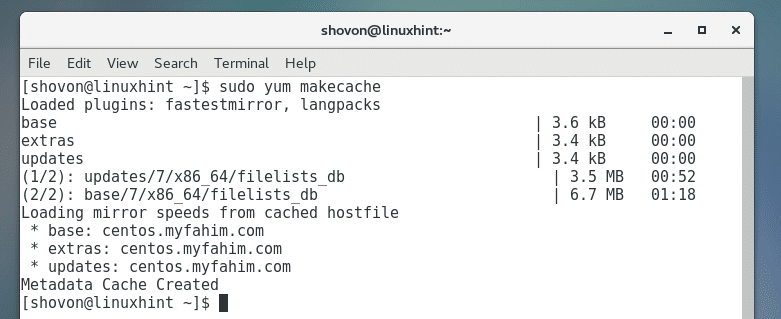
First update the package repository cache of yum package manager with the following command:

The yum package repository cache should be updated.
Python PIP is not available in the official package repository of CentOS 7. But it is available in the EPEL package repository. Before you can install Python PIP on CentOS 7, you must add EPEL repository to your CentOS 7.
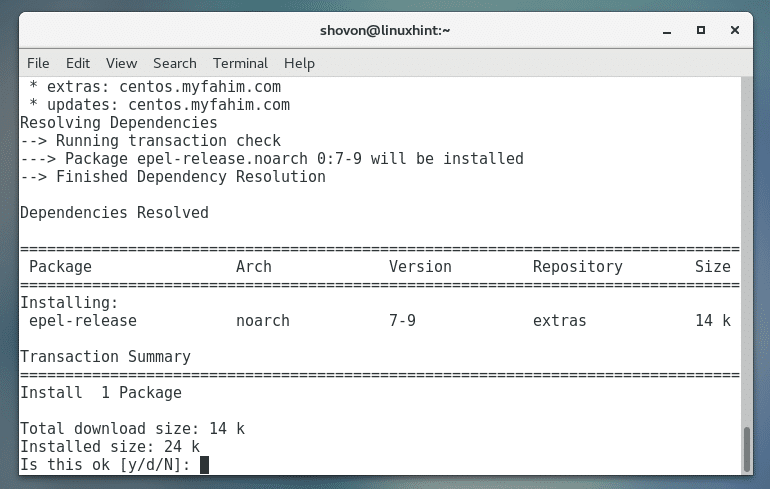
To add EPEL package repository on CentOS 7, run the following command:

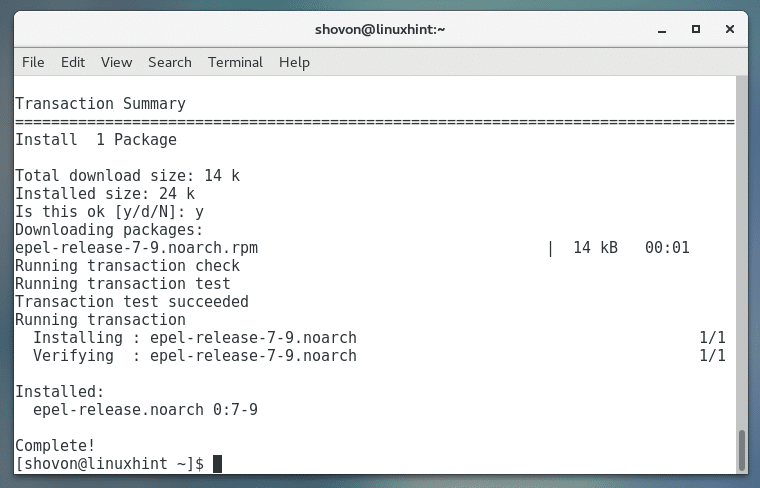
Press ‘y’ and then press <Enter> to continue.
EPEL package repository should be added.
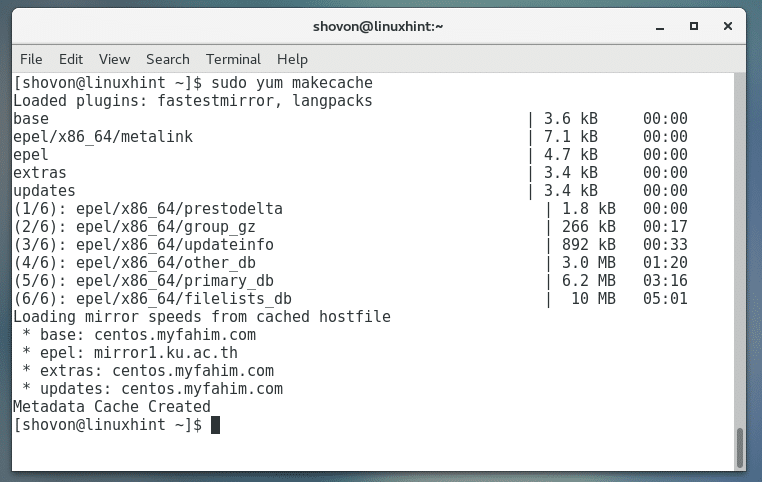
Now update the package repository cache of your CentOS 7 again with the following command:

The package repository cache should be updated.
Now you’re ready to install Python PIP.
PIP is available for Python 2 and Python 3 in the EPEL repository. In this article, I will show you how to install Python 2 PIP and Python 3 PIP.
Installing Python 2 PIP:
In this section, I will show you how to install Python 2 PIP.
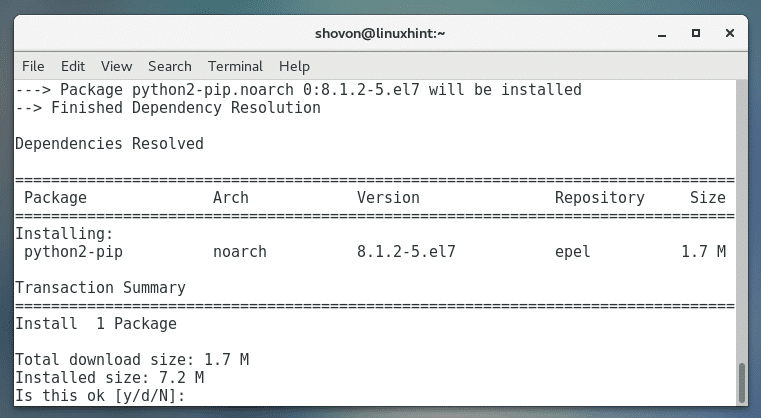
Run the following command to install Python 2 PIP:

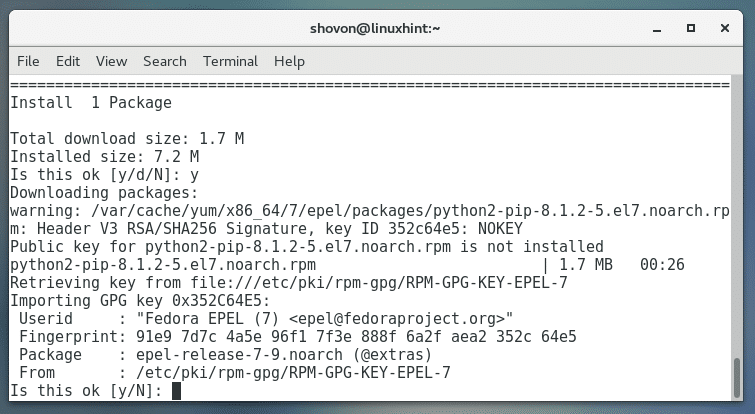
Press ‘y’ and then press <Enter> to continue.
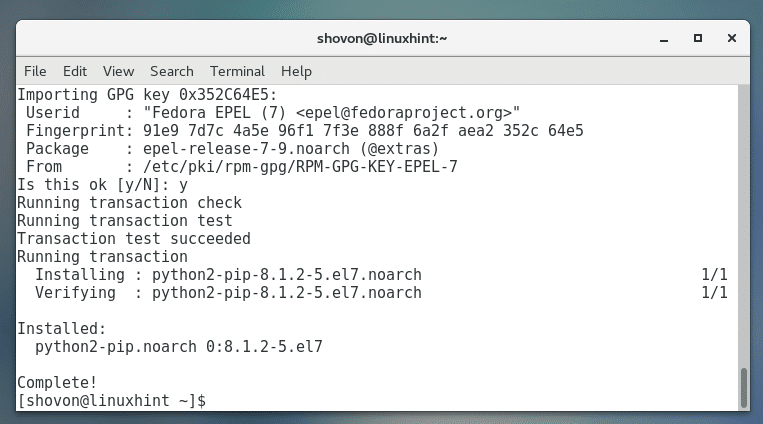
Press ‘y’ and then press <Enter> to accept the GPG key.
Python 2 PIP should be installed.
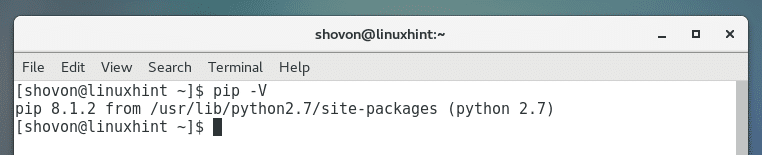
You can run the following command to check whether Python 2 PIP is working.

As you can see the version of PIP installed is PIP 8.1.2. By the time you read this, the version may change but don’t worry about it. It should work the same way.
Installing Python 3 PIP:
In this section I am going to show you how to install Python 3 PIP.
At the time of this writing, on EPEL repository of CentOS 7, Python 3.4 is available. By the time you read this article, the package version may change. If the package version changes, so will the package name. So I am not going to install any specific version of Python 3 PIP. I will show you how to search for it and install what is available when you read this article.
You can run the following command to search for a Python 3 PIP package:

As you can see from the marked section of the screenshot below, the package name of Python 3 PIP is python34-pip.

Now you can install Python 3 PIP with the following command:

Now press ‘y’ and then press <Enter> to continue.
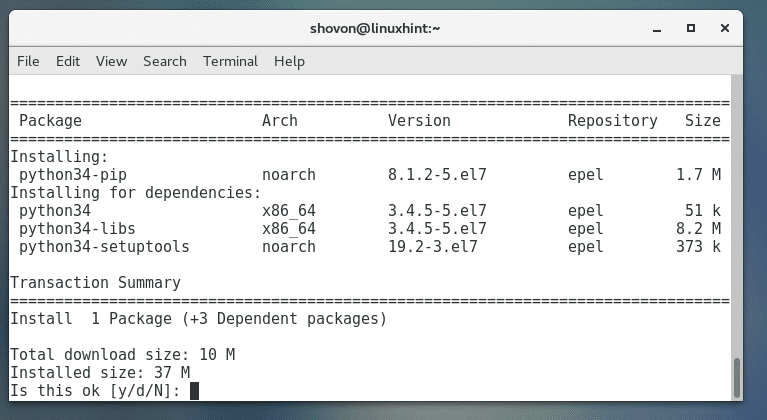
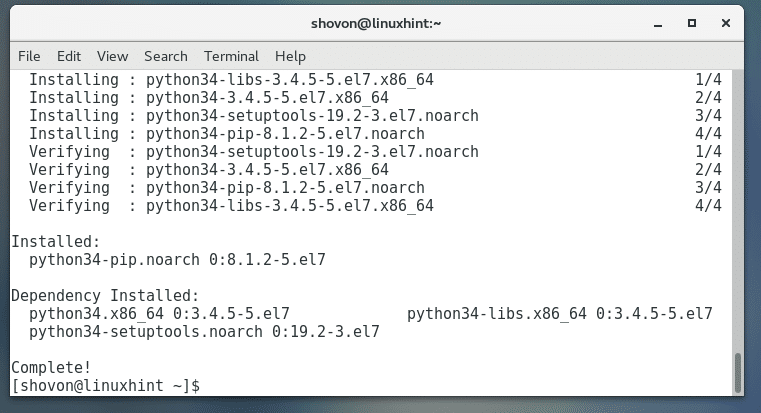
Python 3 PIP should be installed.
Now you can check whether Python 3 PIP is working with the following command:

As you can see from the screenshot below, the version of Python 3 PIP installed on my CentOS 7 machine is 8.1.2.

Searching for a Python Package using PIP:
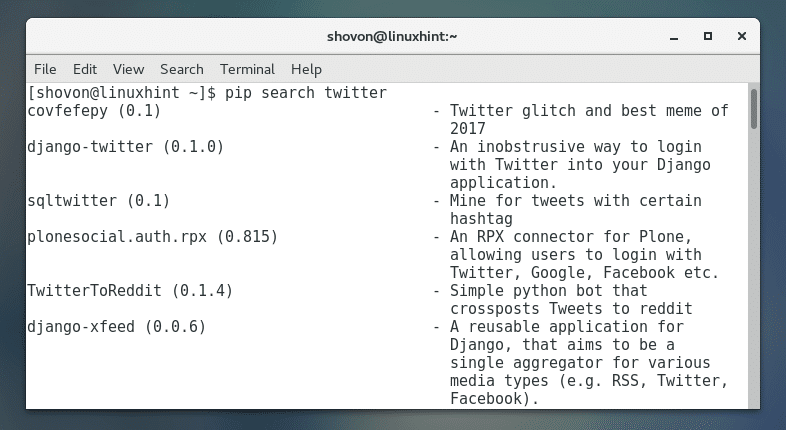
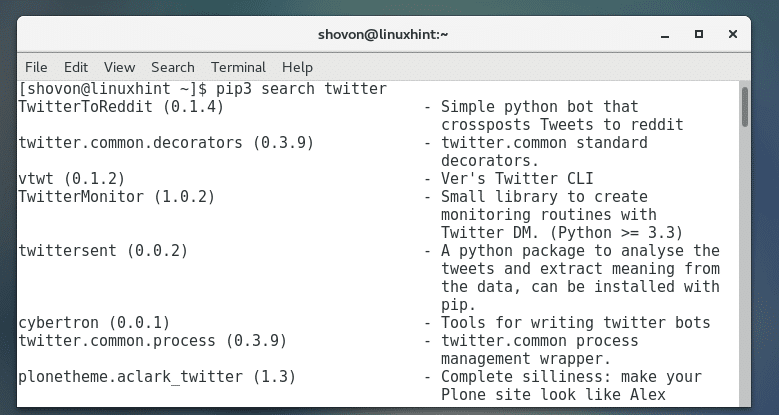
You can search for a python package using PIP. Let’s say you want to search Python API for ‘twitter’. You can do so by running the following command:
Python 2 PIP:

Python 2 PIP search result for twitter:
Python 3 PIP:

Python 3 PIP search result for twitter:
Installing a Python Package using PIP:
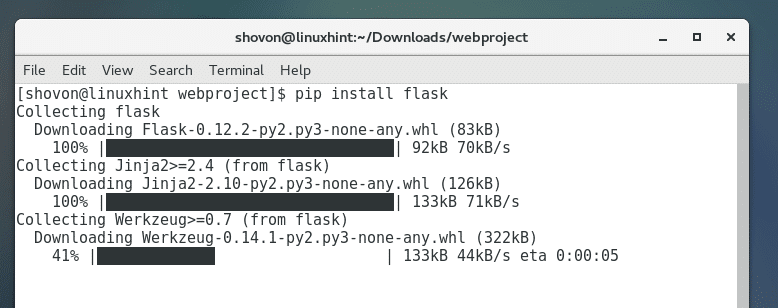
You can install a Python package using PIP. Let’s say you want to install Flask – a micro web framework for Python which is very lightweight.
You can do so with the following command:
Python 2 PIP:

As you can see, Flask is being downloaded.
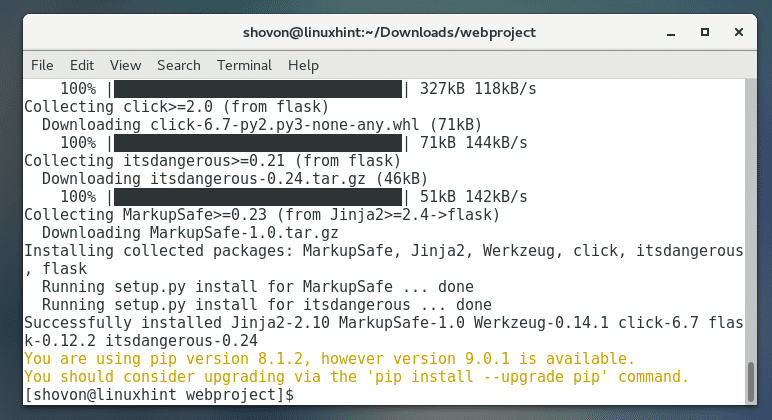
Flask should be installed as you can see from the screenshot below:
Python 3 PIP:
For Python 3, the above command should be:
Removing a Package using PIP:
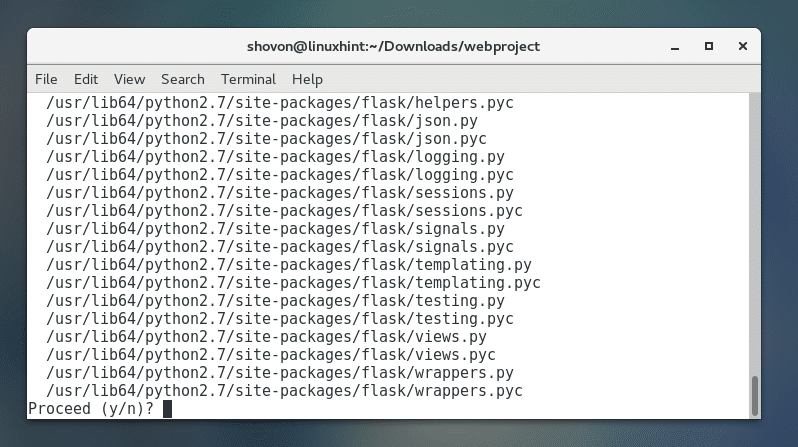
To remove a package using PIP, run the following command:
Python 2 PIP:

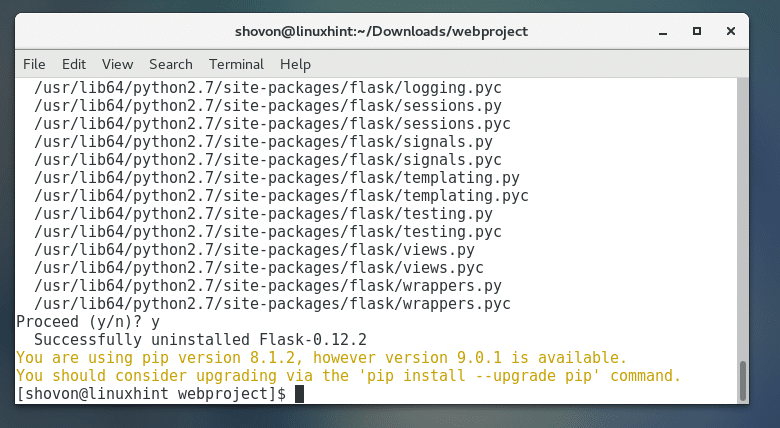
Pres ‘y’ and then press <Enter> to continue.
It should be removed.
Python 3 PIP:
That’s how you install Python PIP on CentOS 7. Thanks for reading this article, and for more information on Python check out the Python programming books below: