In the case of CentOS and RHEL, it uses “yum” as its package manager. In case you need to grab a software package from a different source, you either need to follow the classical method (grabbing the source, building the software and installing it) or locate an installable package. For CentOS and RHEL, you should look for RPM packages.
There are also other Linux distros that use the RPM package format as the default installable package type, for example, Fedora and OpenSUSE. Keep in mind that you should look for RPM packages that are specifically built for CentOS/RHEL system. Otherwise, you may need to depend on the Fedora/OpenSUSE package. In that case, use them at your own risk (high chance of it not working properly, malfunctioning or not even installing properly).
It’s time to learn about managing an RPM package on CentOS/RHEL! My test system is CentOS 7.
Obtain an RPM
At first, find a suitable RPM package that you’ll be working with. Whatever RPM package you grab, make sure that you choose the correct one according to your system’s architecture.
I’m going with the Google Chrome RPM package.
RPM usage
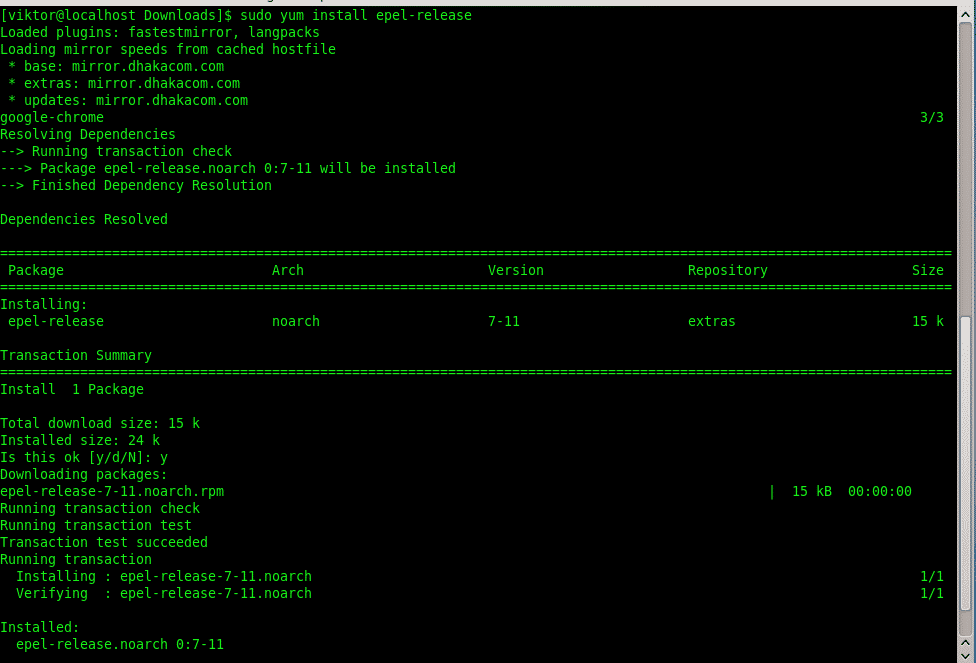
Before diving into the deep end, don’t forget to enable the EPEL repository on your CentOS system!
Run this command first –
Then, update your system –

Installing an RPM package
By default, the following command should do the job –
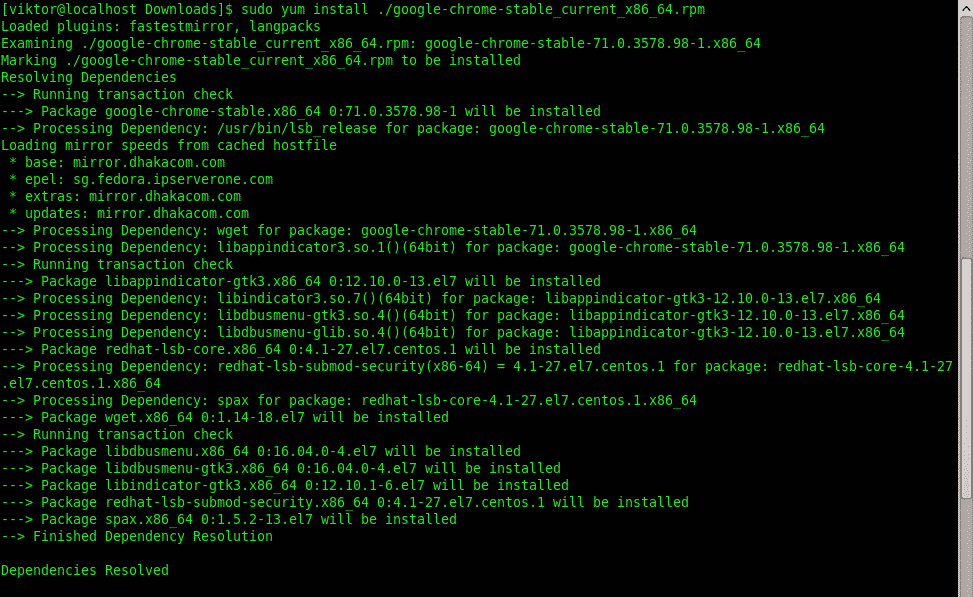

Now, let’s slow down and have a look at the command.
- yum: calling the “yum” tool for performing the installation of the RPM package.
- install: Perform an installation job. In this case, it’s the parsed RPM package.
- ./ : This is a very important part. Without this, “yum” won’t solve the dependency issues (missing/corrupted or unsatisfied dependencies).
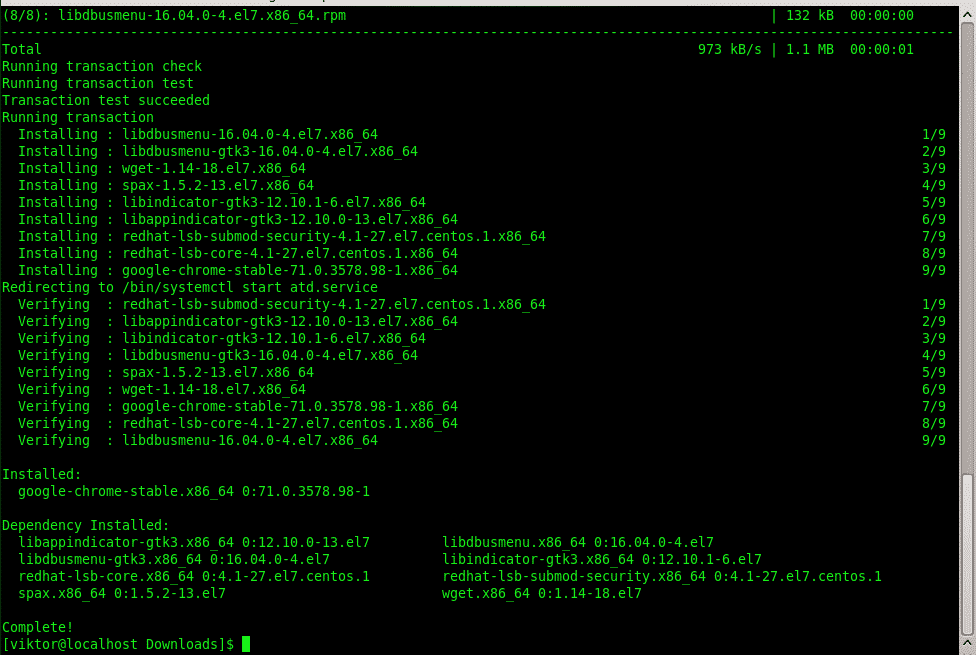
You could also perform the action with “RPM” but working with “yum” is preferred, as it will solve all the dependency issues by default; no need to scratch your head and try to find out the required dependencies and packages etc.
Uninstalling the RPM package
If you’re no longer interested in the software you installed before, you can directly uninstall it by running the following command –

- Converting DEB to RPM
This is an interesting thing to perform but it’s possible! You can convert a DEB (default Debian/Ubuntu installation package) into an RPM package. Of course, things are pretty much bound to break down.
However, this method came in handy in the past, so feel free to keep this trick in mind!
At first, grab a test DEB package. I’ll be using the Google Chrome DEB package.
Install the converting tool – alien. It comes from the EPEL repository, so make sure that you configured EPEL on your system.

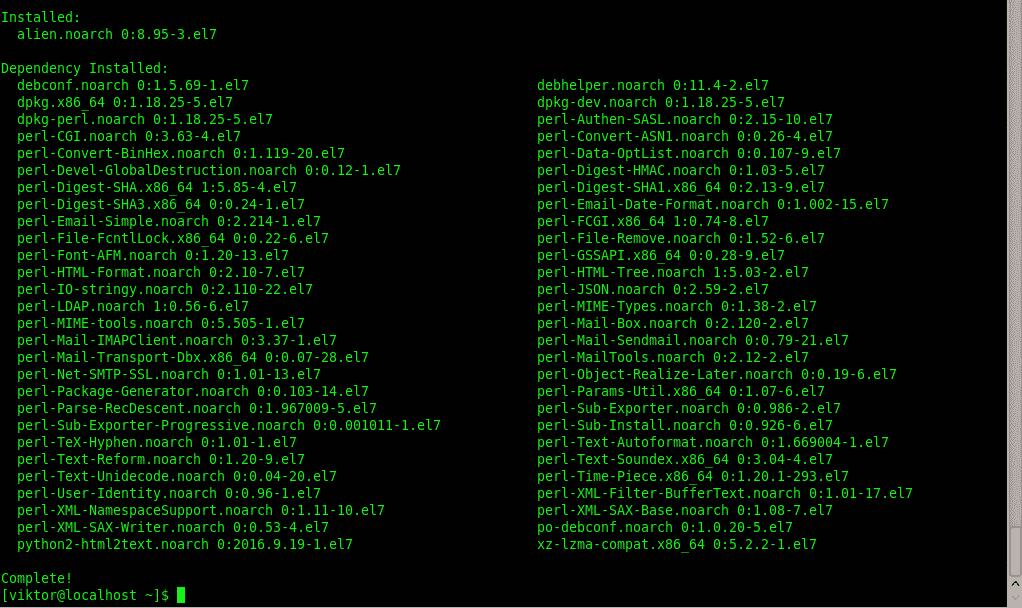
Then, use the tool for performing the conversion!

Once the generation process is complete, you’ll end up with an installable RPM package on the directory.
Then, enjoy the RPM just like you would with a regular RPM!
Enjoy!